Table of Contents
This HOWTO contains procedures for installing the Rivendell Radio Automation System on a system running RedHat Enterprise Linux 8 (RHEL-8). While the screenshots are specific to RHEL-8, these instructions are also applicable to other distributions derived from RedHat Enterprise 8.
Installing Rivendell on RHEL-8 consists of three primary steps:
Install the base distribution and establish an Internet connection.
Bootstrap and run the installation script.
Secure accounts and finish up final details.
The following items are required to complete the installation.
Target hardware. 64 bit (x86_64) AMD or Intel architecture is supported. For the purposes of this HOWTO, the target machine will be assumed to have a single, blank hard drive. Installations utilizing multiple hard drives (including RAID arrays) are possible, but beyond the scope of this HOWTO.
A 'DVD' ISO installer image for RHEL-8, available at https://www.redhat.com/en/technologies/linux-platforms/enterprise-linux. After downloading the ISO image, make a "bootable" USB key using these instructions.
A working Internet connection.
Boot the RHEL-8 installation media (DVD or USB key). You should wind up at the initial boot screen.
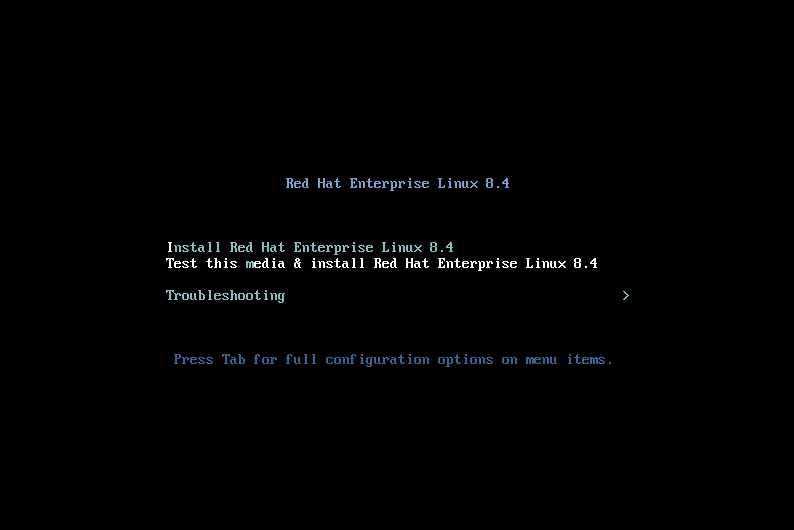
Highlight the Install Red Hat Enterprise Linux 8
prompt and then press Enter to start the
installation.
You will be asked to specify the language to use for the install.
Choose and then touch the Continue
button.
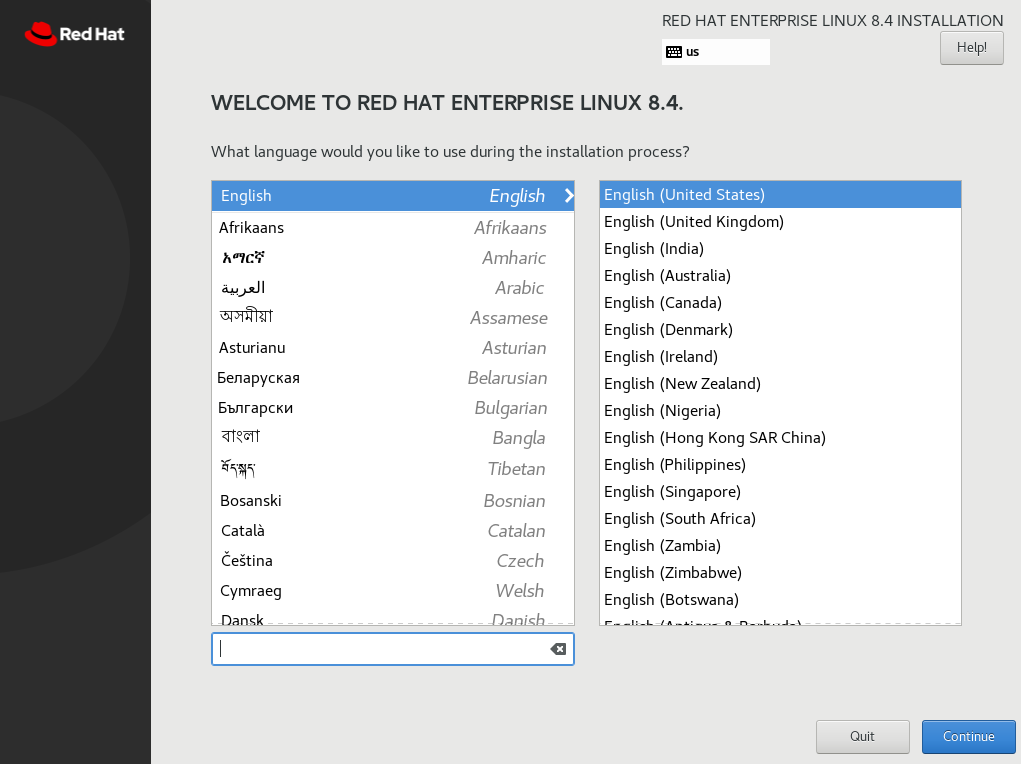
You should then be brought to the
INSTALLATION SUMMARY screen.
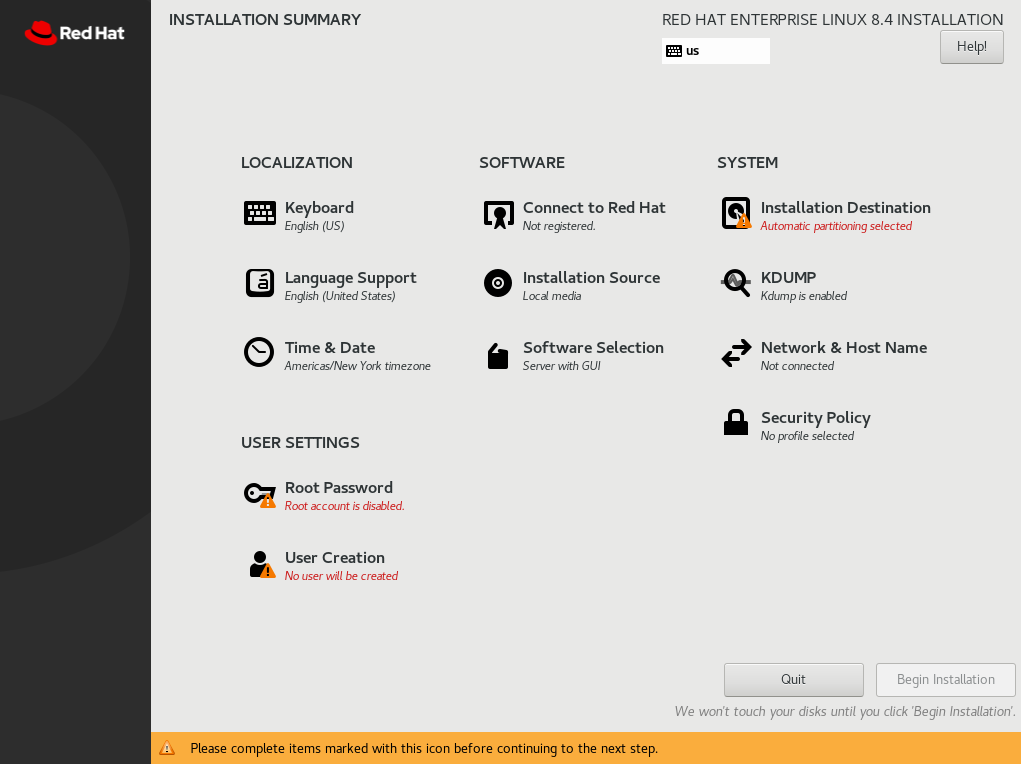
Touch the Software Selection item
to bring up the SOFTWARE SELECTION screen.
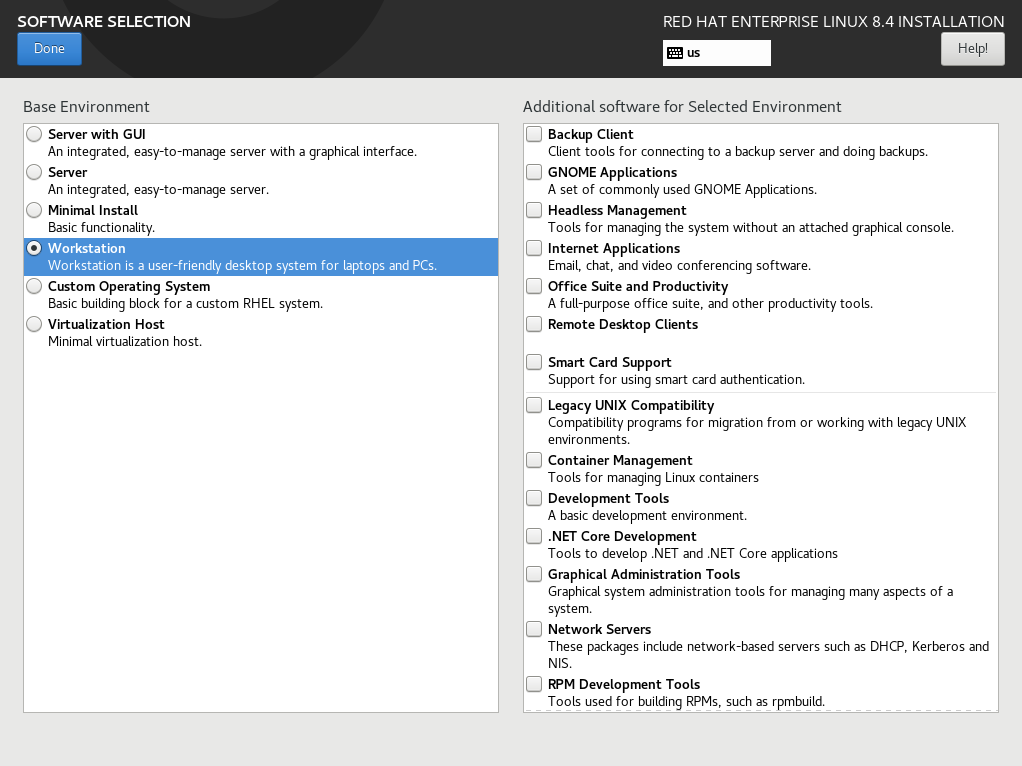
In the left-hand pane, select the
Workstation environment, then touch
the Done button to return to the
INSTALLATION SUMMARY screen.
Touch the INSTALLATION DESTINATION
item to bring up the
INSTALLATION DESTINATION screen.
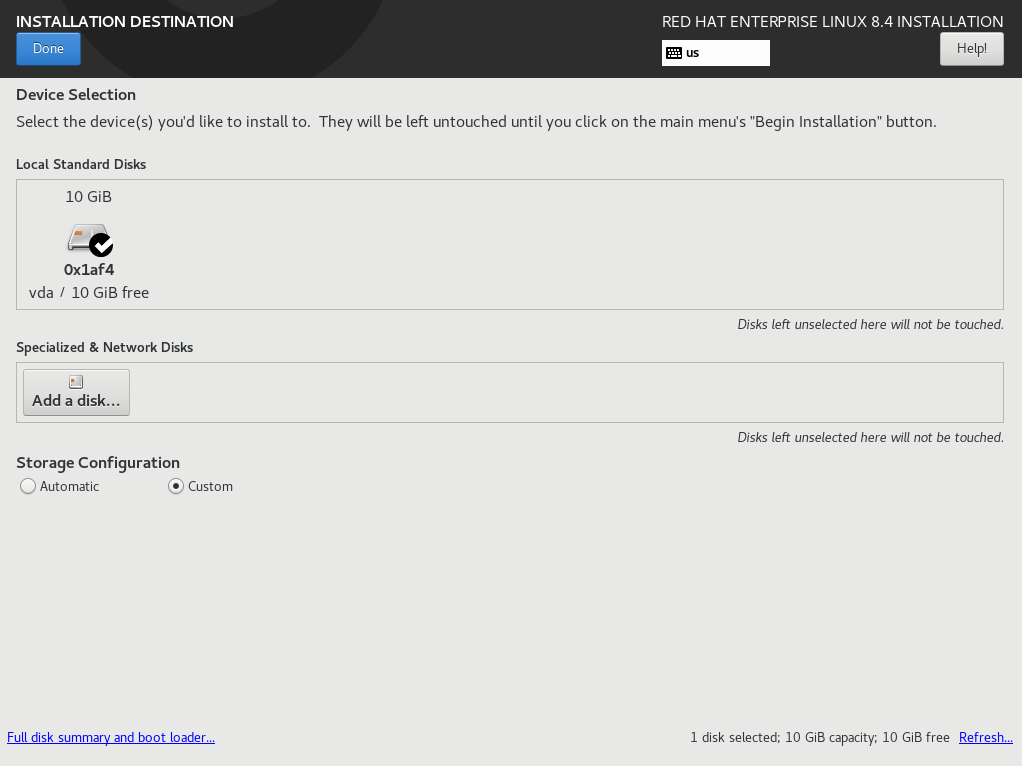
In the Storage Configuration section,
change the selection from Automatic to
Custom.
Warning
Do NOT use automatic partitioning! Doing so will waste large amounts of disc space while resulting in an installation with very little space available for storage of audio!
Touch the Done button to bring up the
MANUAL PARTITIONING screen.
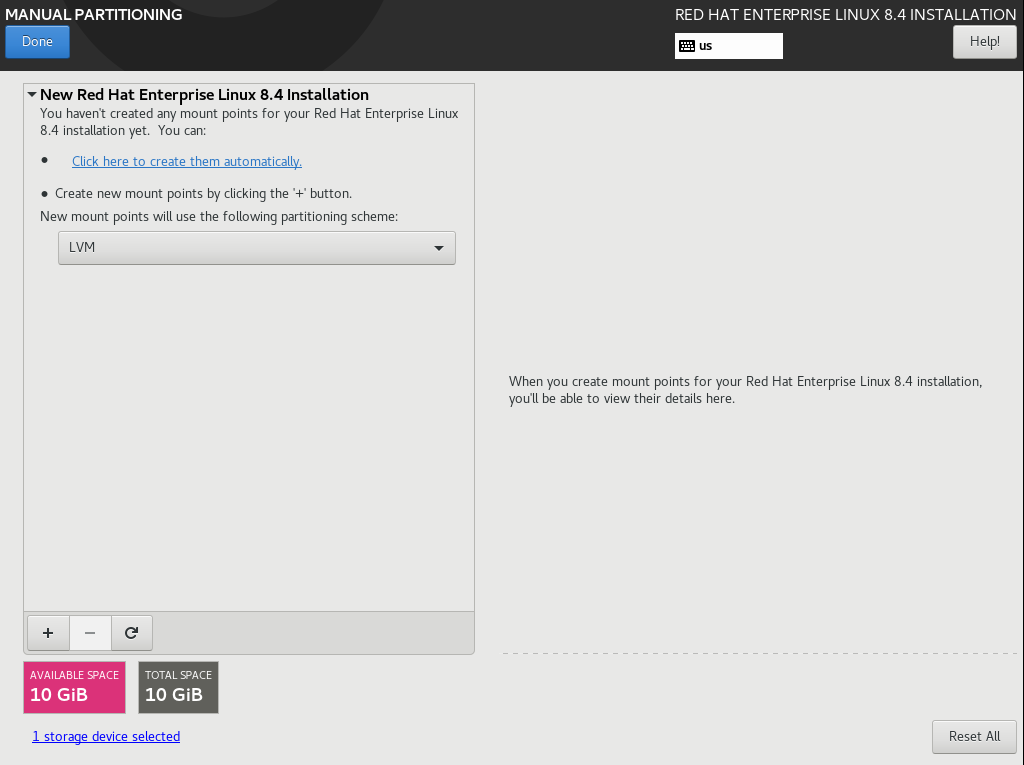
If there are any existing partitions on the system, delete them by touching
the - button. Then, change the
paritioning scheme from LVM to
Standard Partition.
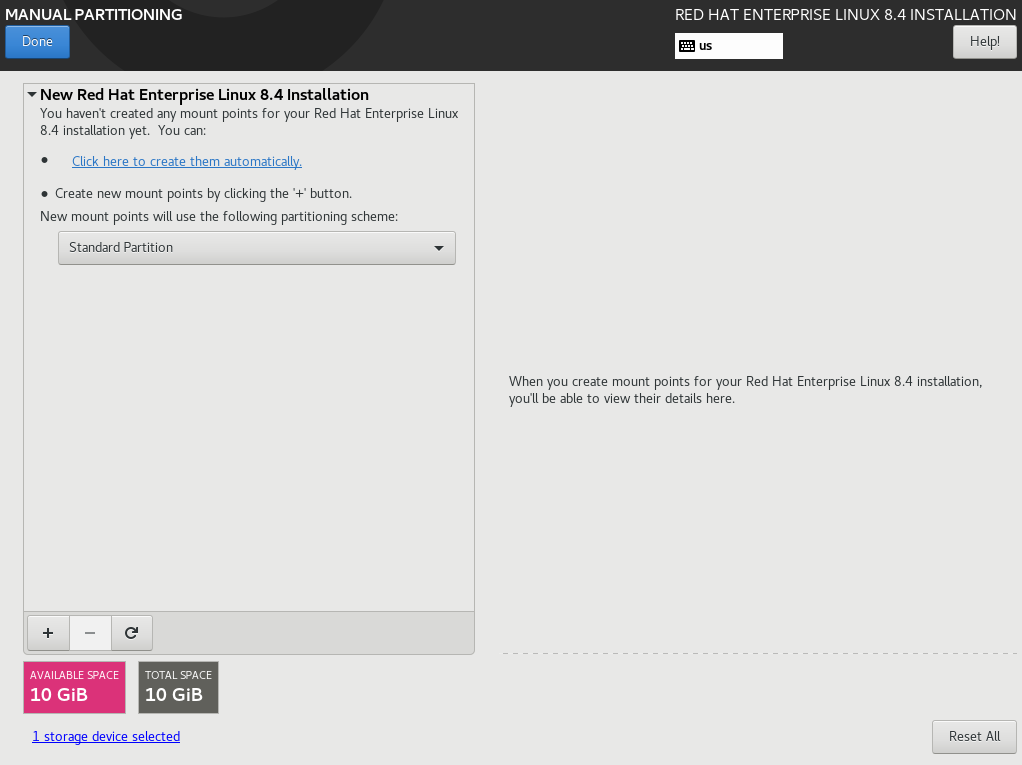
Touch the + button to bring up the
ADD A NEW MOUNT POINT dialog.
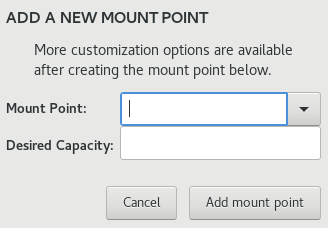
Pull down the Mount Point: list and
scan the entries. If you see a /boot/efi
entry, select it, then enter 1G in the
Desired Capacity: field, then
touch the Add mount point button.
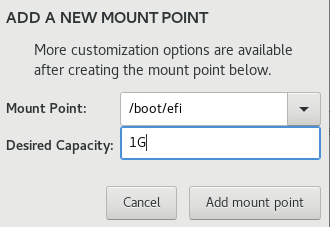
Repeat the above procedure, adding the following mount points:
After all mount points have been added, touch the
Done button. You may see a
SUMMARY OF CHANGES dialog asking you
to confirm the partitioning. Touch the
Accept Changes button and return to
the INSTALLATION SUMMARY screen.
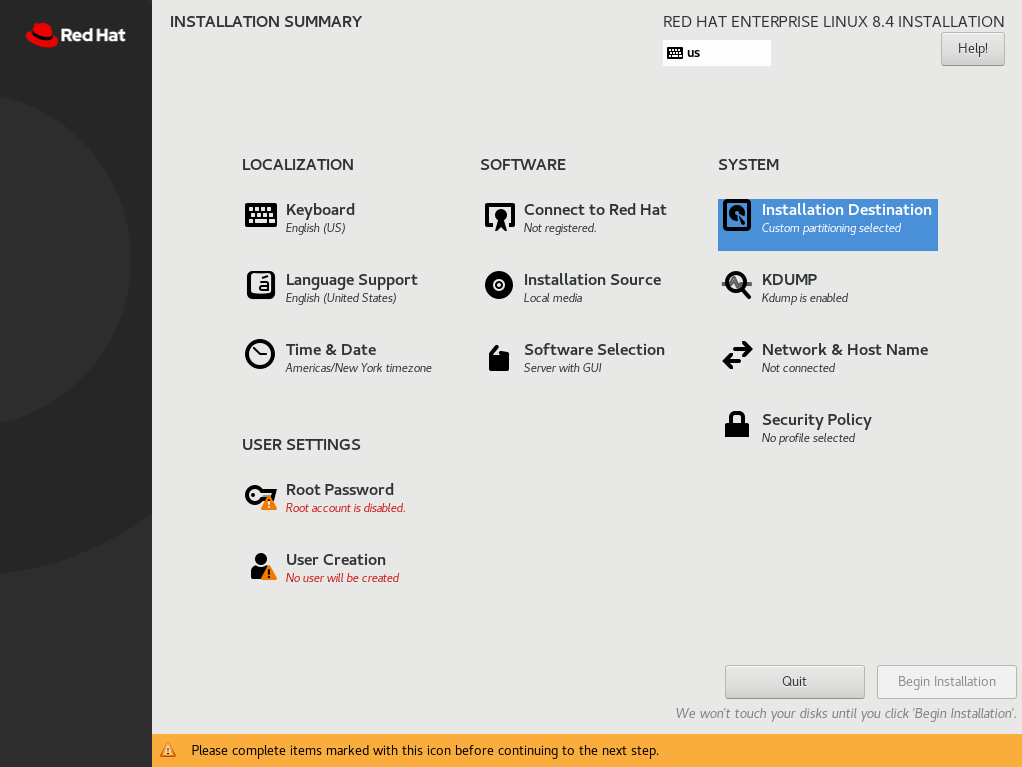
Touch the Root Password item to bring
up the ROOT PASSWORD screen.
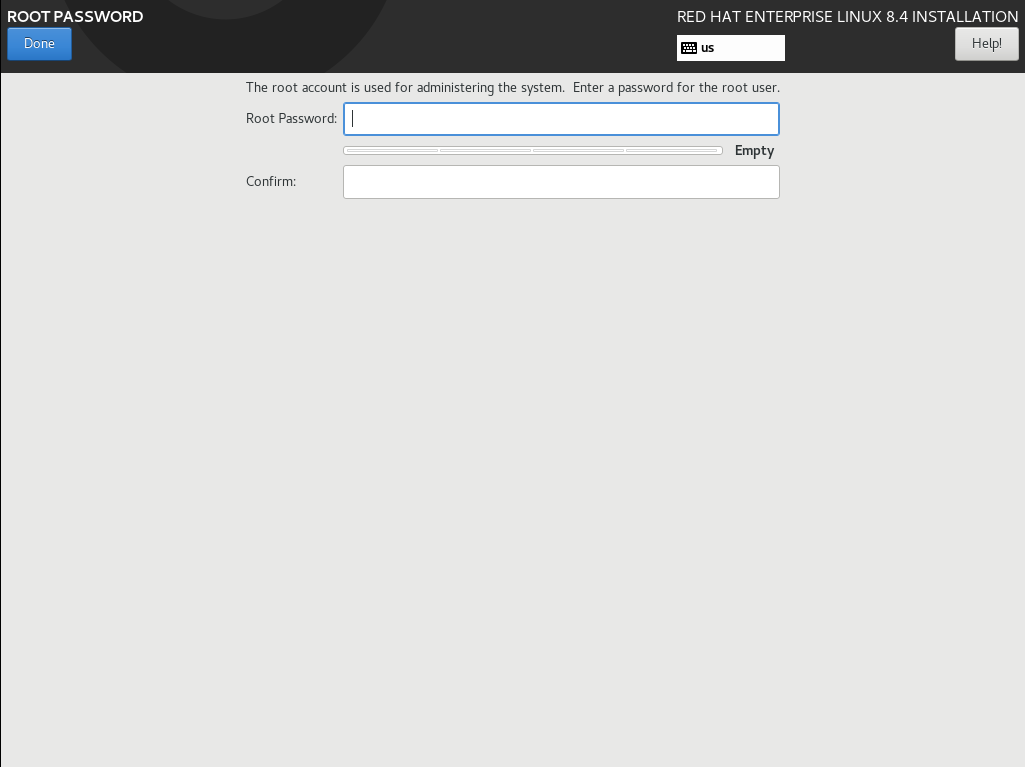
Enter a password in the two fields. and then touch the
Done button to return to the
SUMMARY OF CHANGES screen.
Warning
DO NOT FORGET WHAT YOU ENTER HERE, AS YOU WILL NEED IT TO MANAGE YOUR RIVENDELL SYSTEM!
Touch the User Creation item to bring
up the CREATE USER screen.
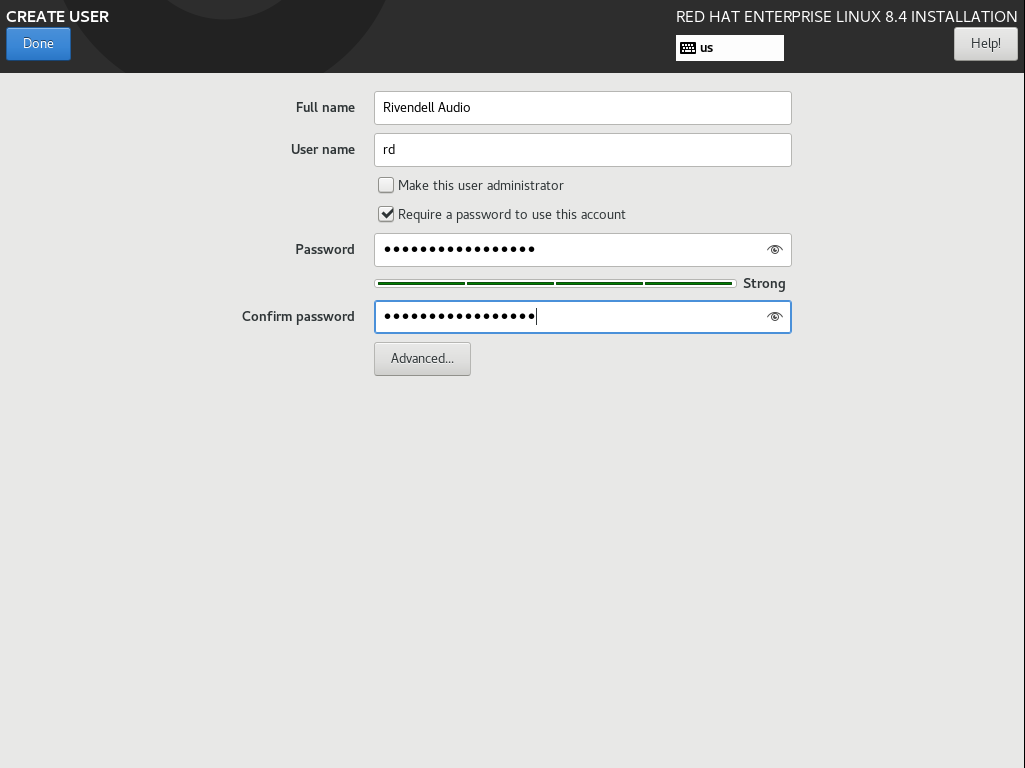
Create a user called rd, using the settings as
shown, and then touch the Done button
to return to the INSTALLATION SUMMARY
screen.
Caution
To ensure system security, use a password that is different from the one used for theroot.
Touch the Begin Installation button
to apply your partitioning settings and install RHEL.
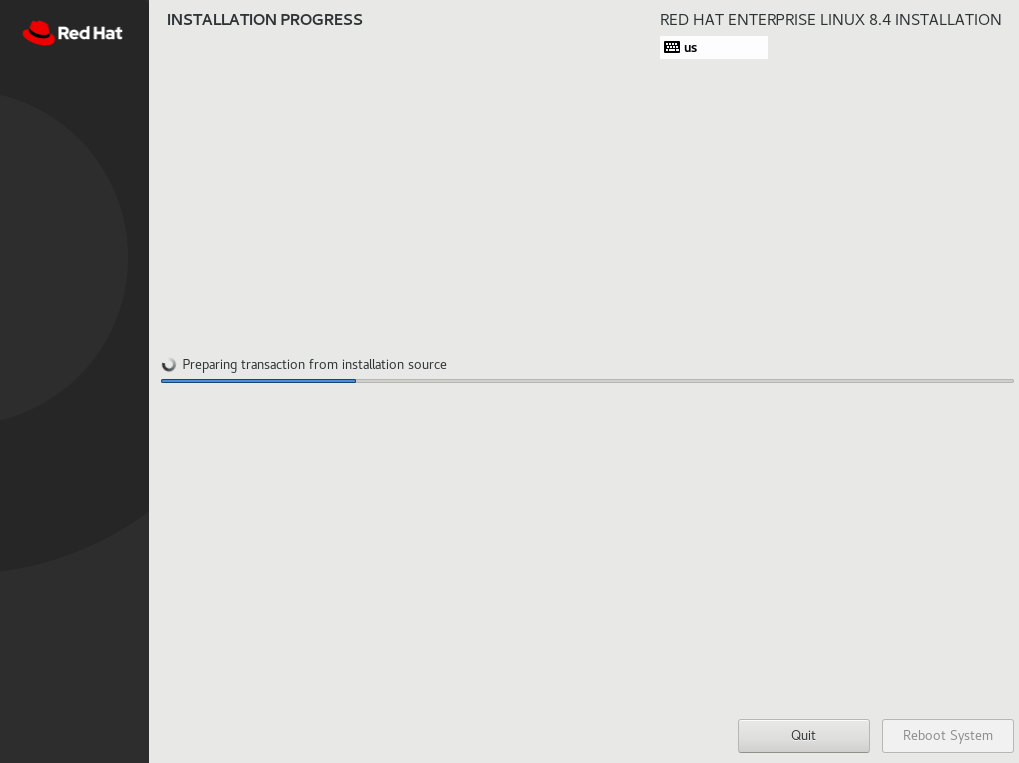
When installation is complete, touch the
Reboot System button.
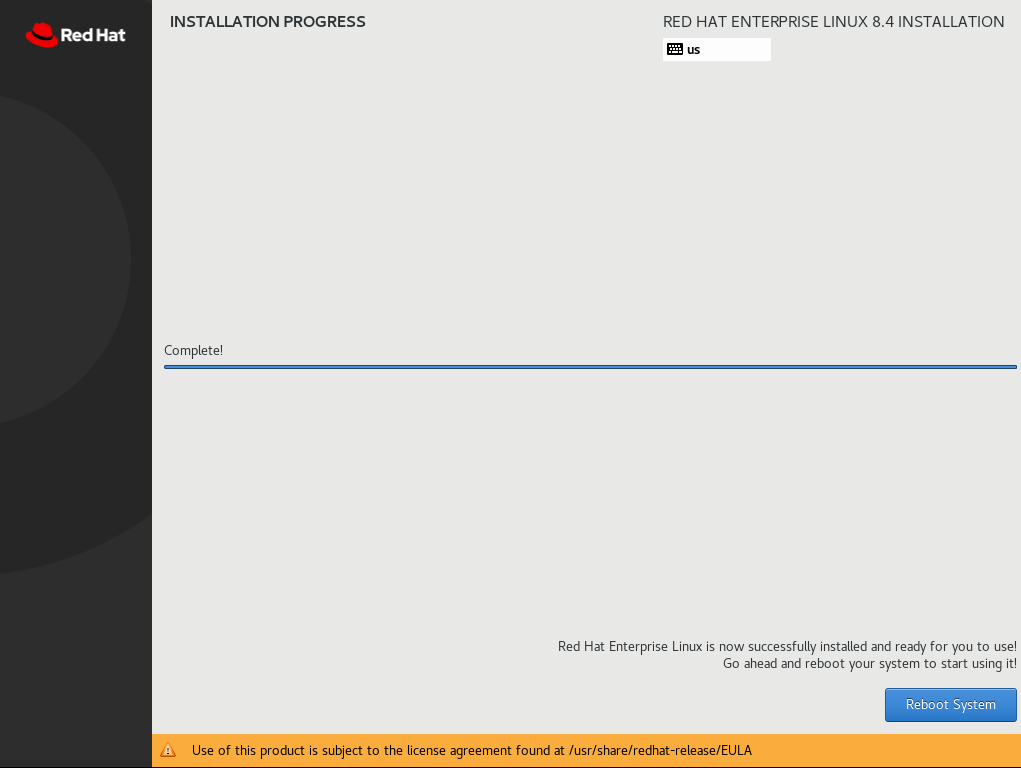
The system will reboot and come up to the
INITIAL SETUP screen.
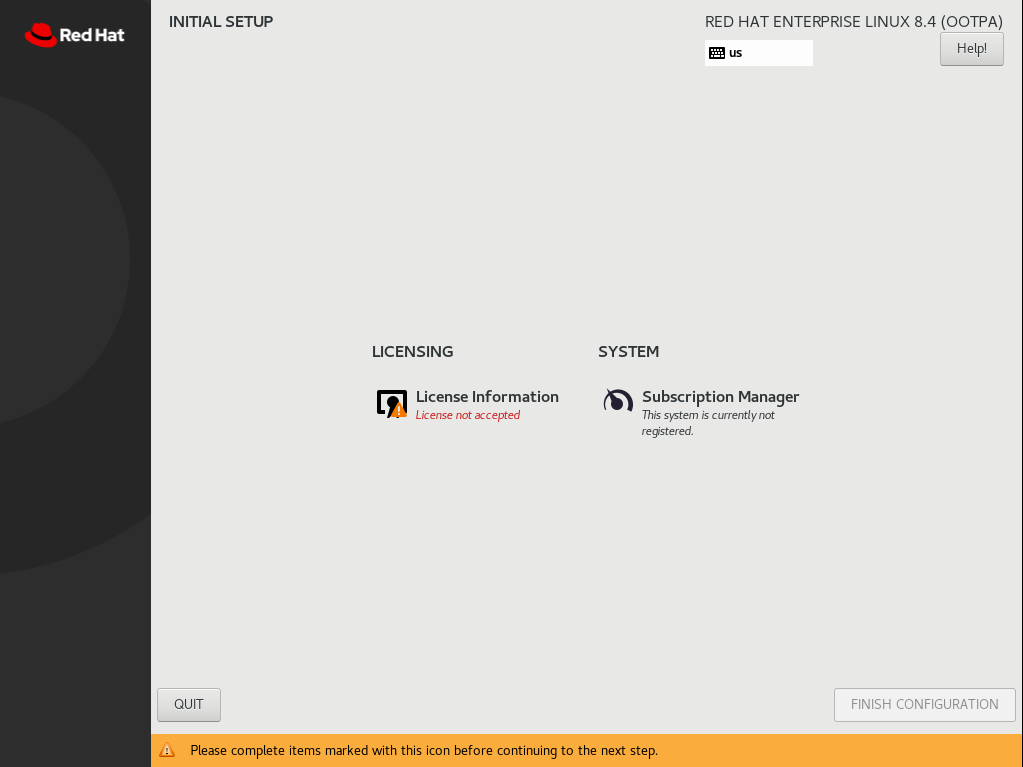
Touch the License Information item
to bring up the License Information
screen.
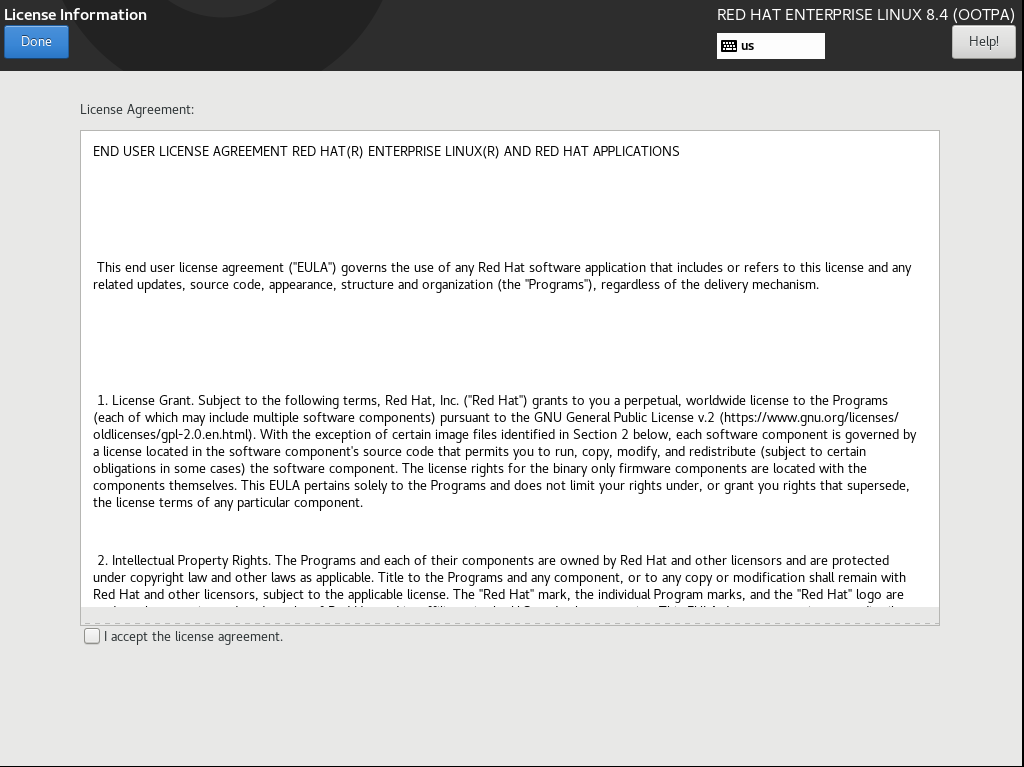
Tick the I accept the license agreement
checkbox and then touch the Done
button to return to the INITIAL SETUP
screen.
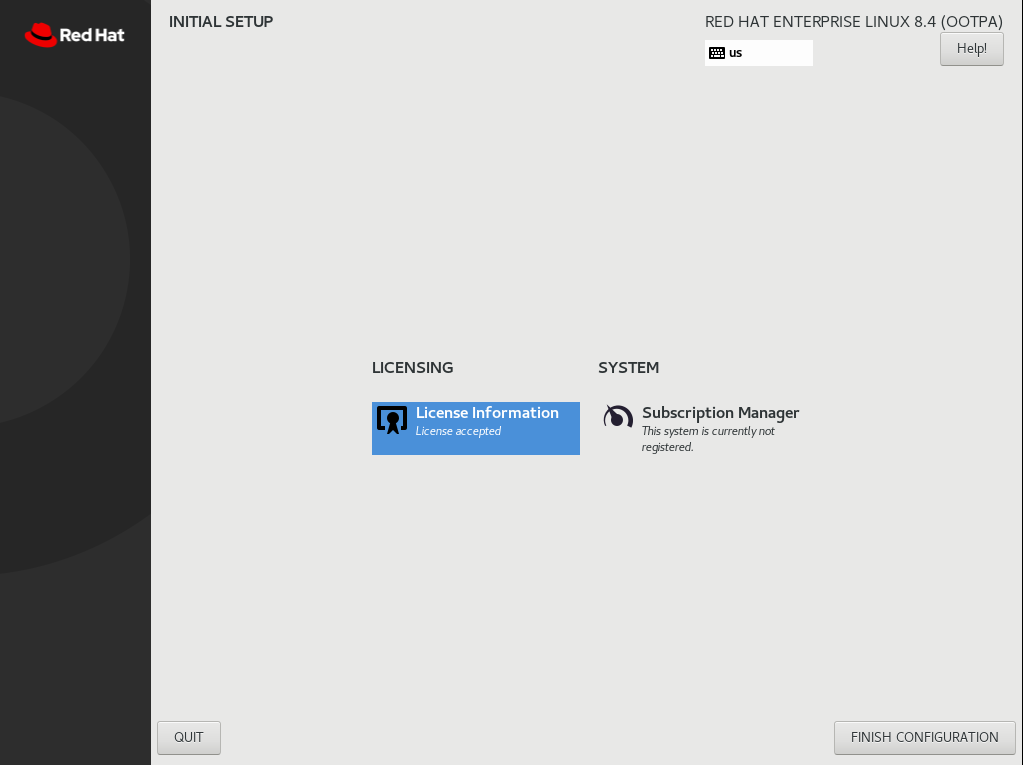
Touch the FINISH CONFIGURATION button.
Then Login screen will then appear.
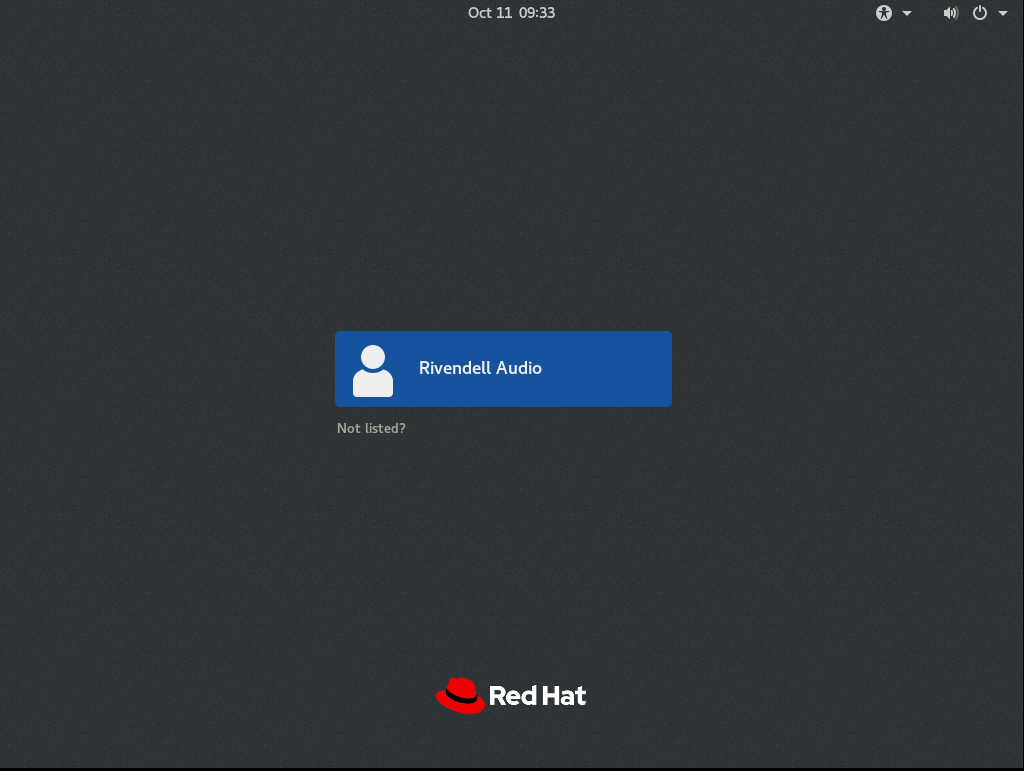
Click the Rivendell Audio item and
enter the user password that was set earlier.
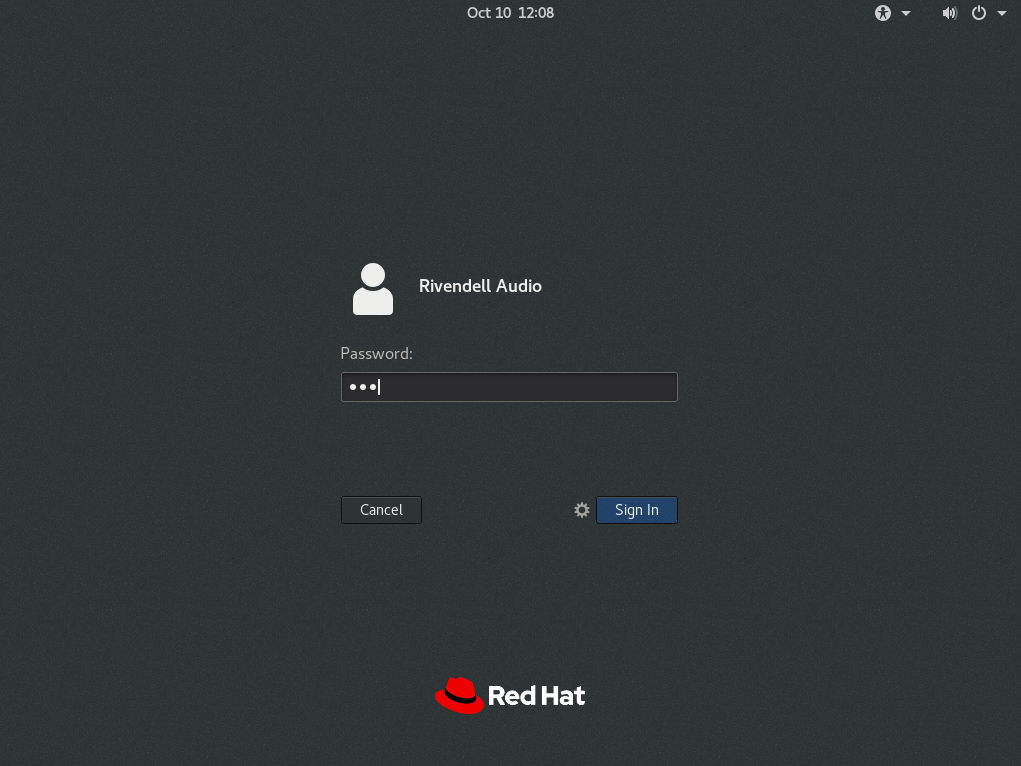
The system will log in
and display the Welcome! screen.
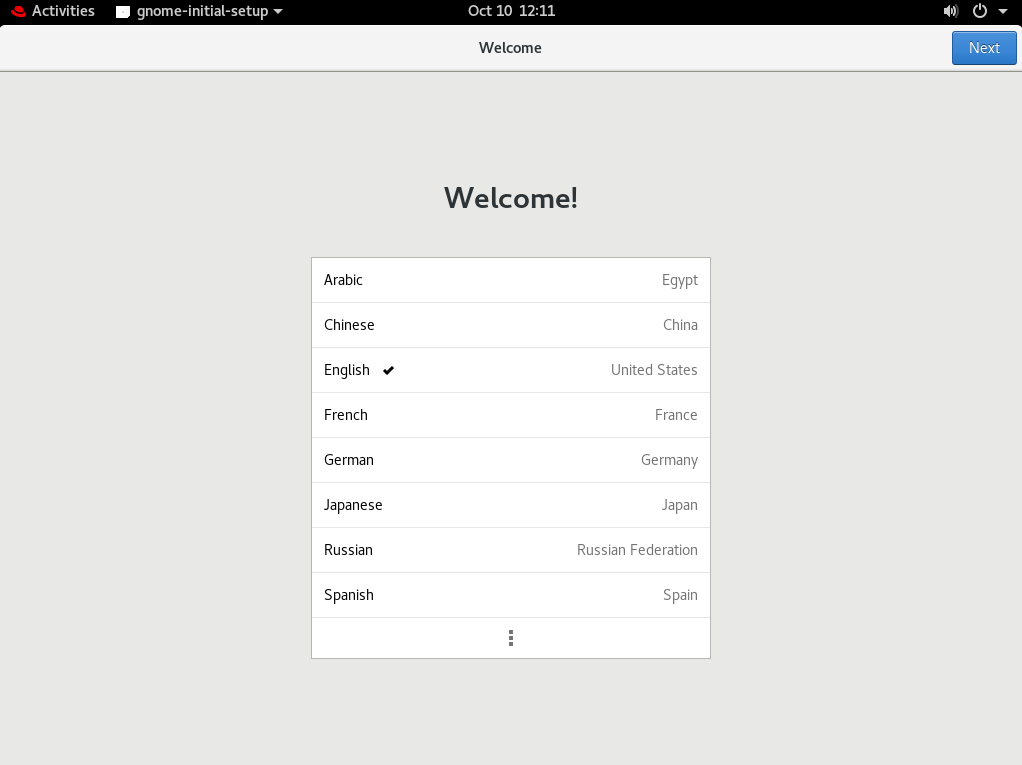
Choose the desired language and then touch the
Next button to bring up the
Typing screen.
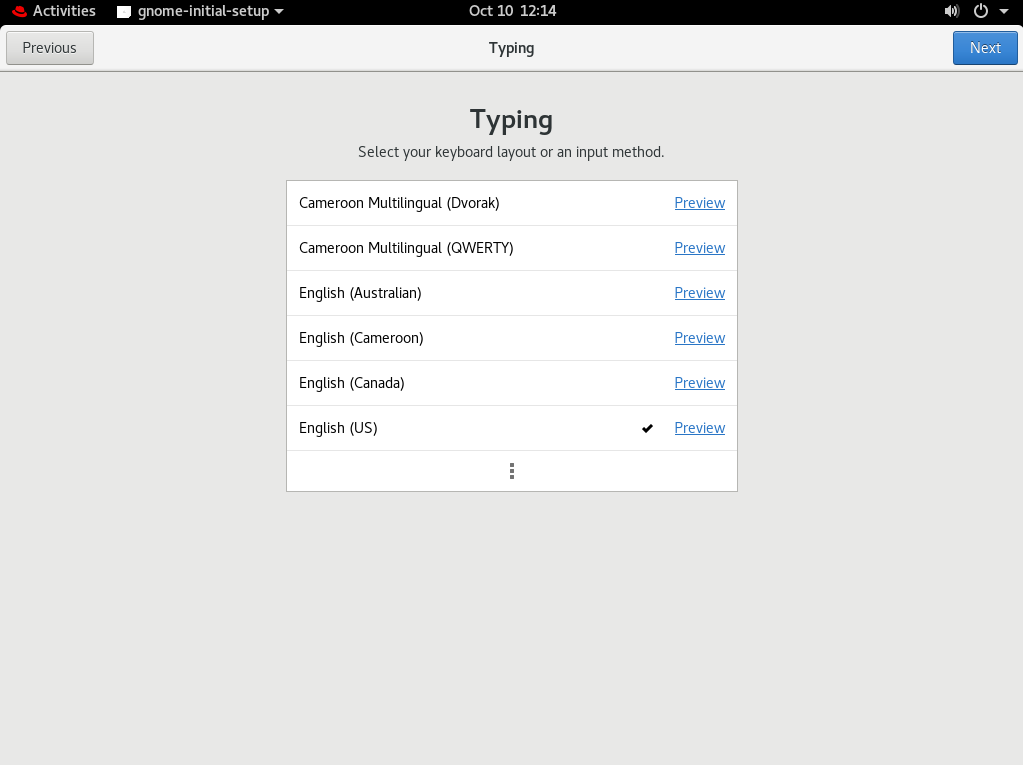
Choose the desired keyboard layout and then touch the
Next button to bring up the
Privacy screen.
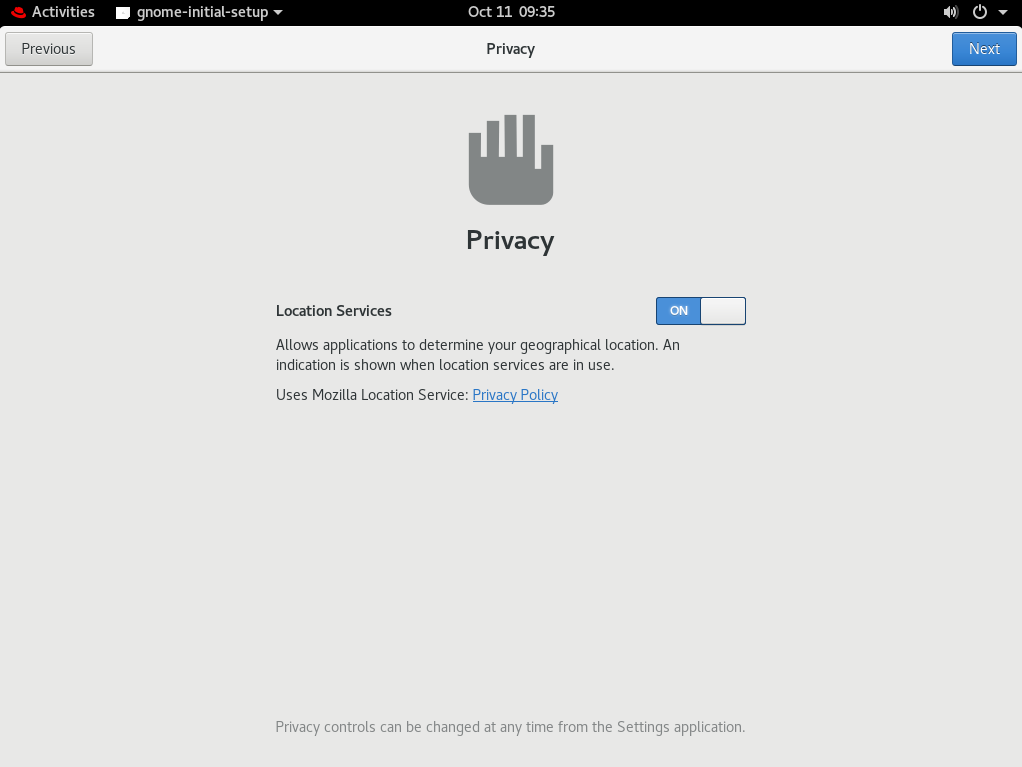
Set the Location Services as desired
then touch the Next button to bring
up the Connect Your Online Accounts
screen. Touch the Skip button to
bring up the Ready to Go screen.

Touch the
Start Using Red Hat Enterprise Linux
button to bring up the Getting Started
window.
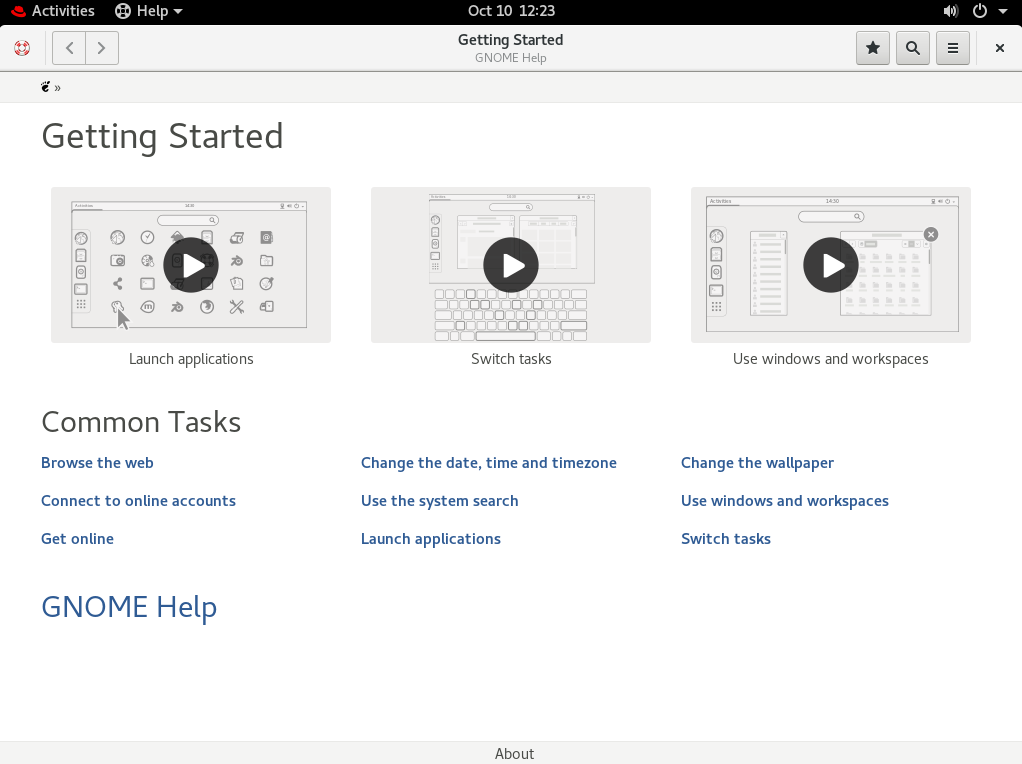
Touch the 'X' in the upper right-hand corner to dismiss the window and show the Gnome Desktop.

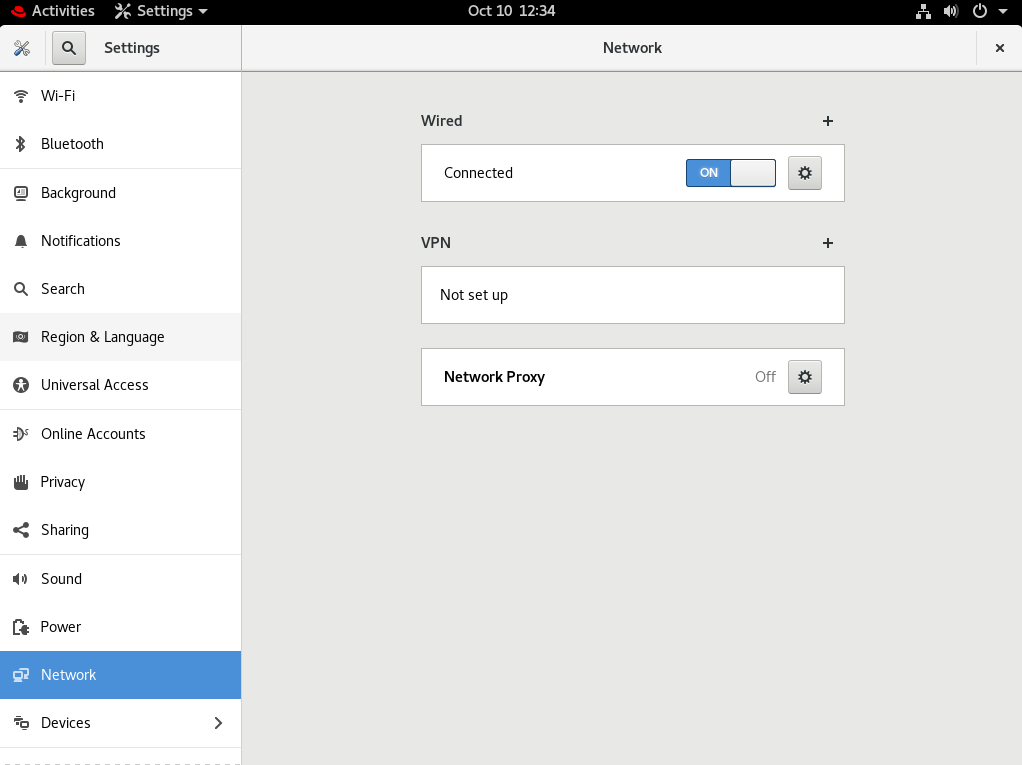
Touch the Down Arrow in the upper right-hand corner of the desktop and
then touch the "Tool" icon to open the
Settings applet.
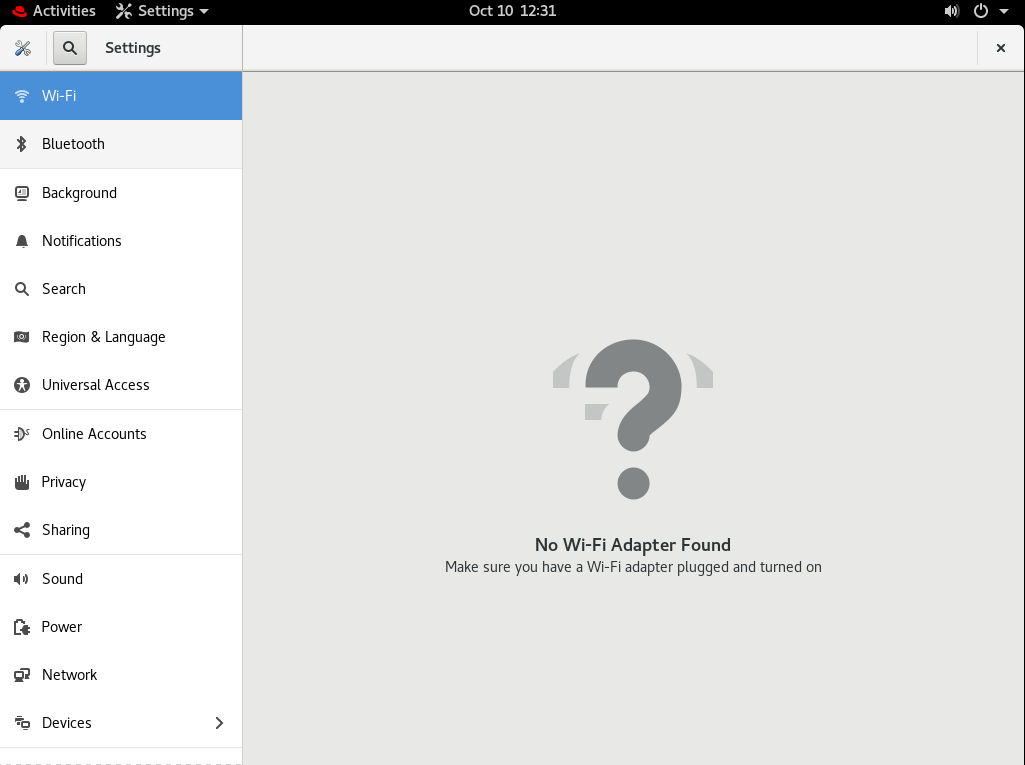
Touch the Network item in the left-hand
pane and configure network access as is appropriate for your site.
Next, touch the Details item in the
left-hand pane to bring up the About
screen.
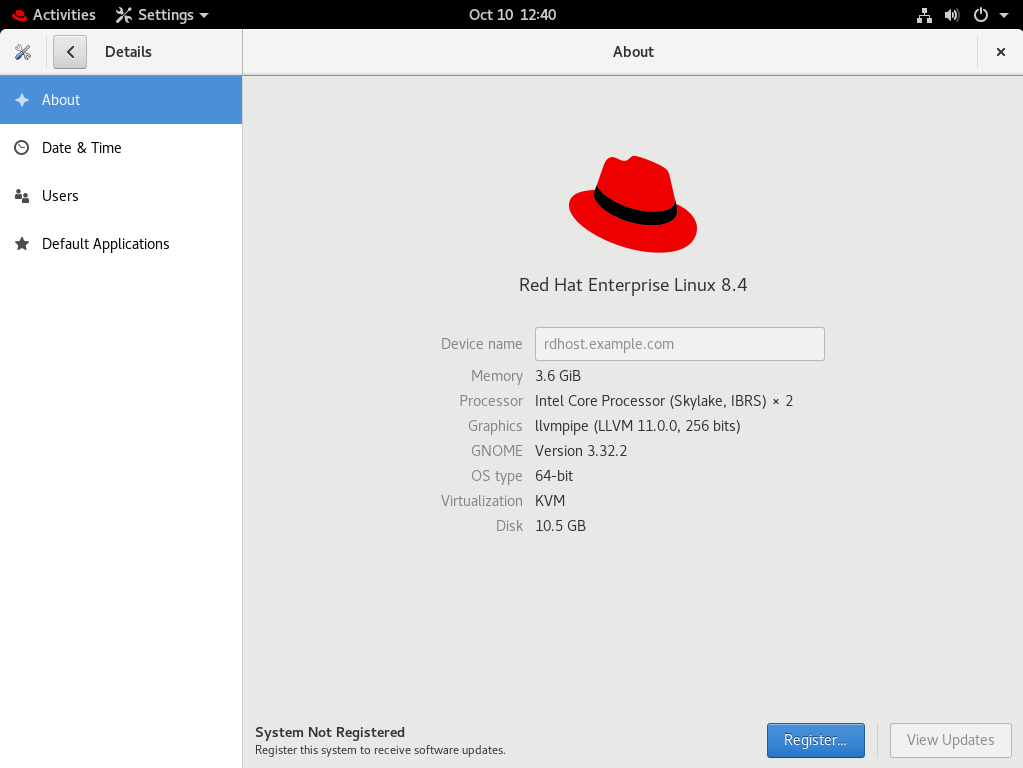
Touch the Register button to bring up
the Register System dialog.
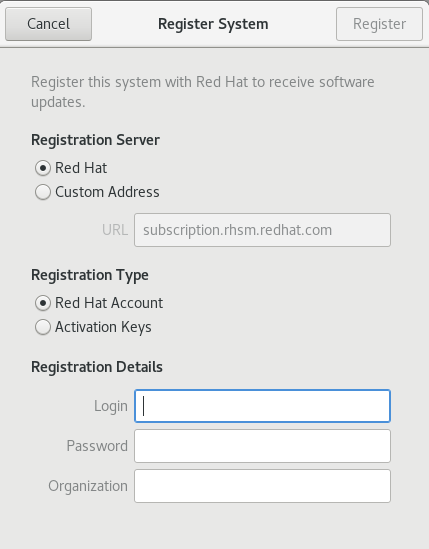
Enter the Login and
Password for a Red Hat account
authorized to issue a subscription and then touch the
Register button. The system will
prompt for an "Administrator" password.
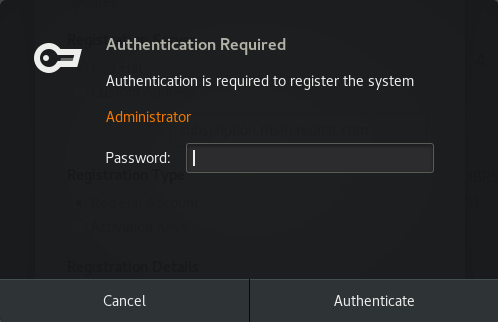
Enter the "root" password that you created earlier and
then touch the Authenticate button.
The system will return to the About
screen.
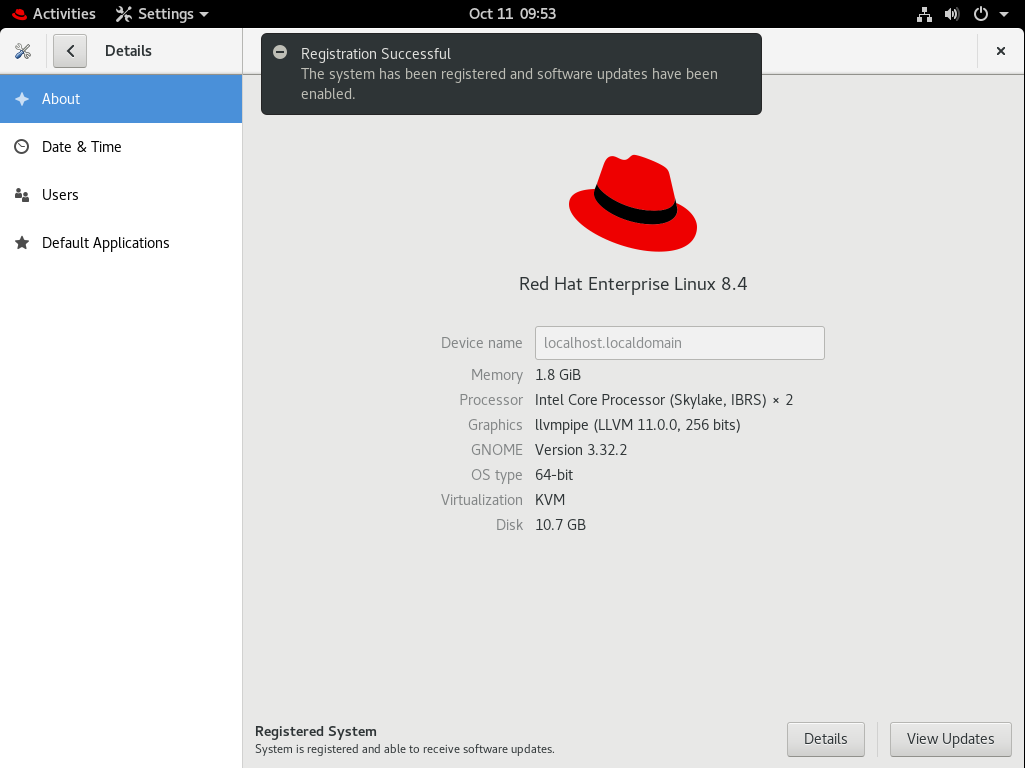
Touch the View Updates button to
bring up a list of available updates.
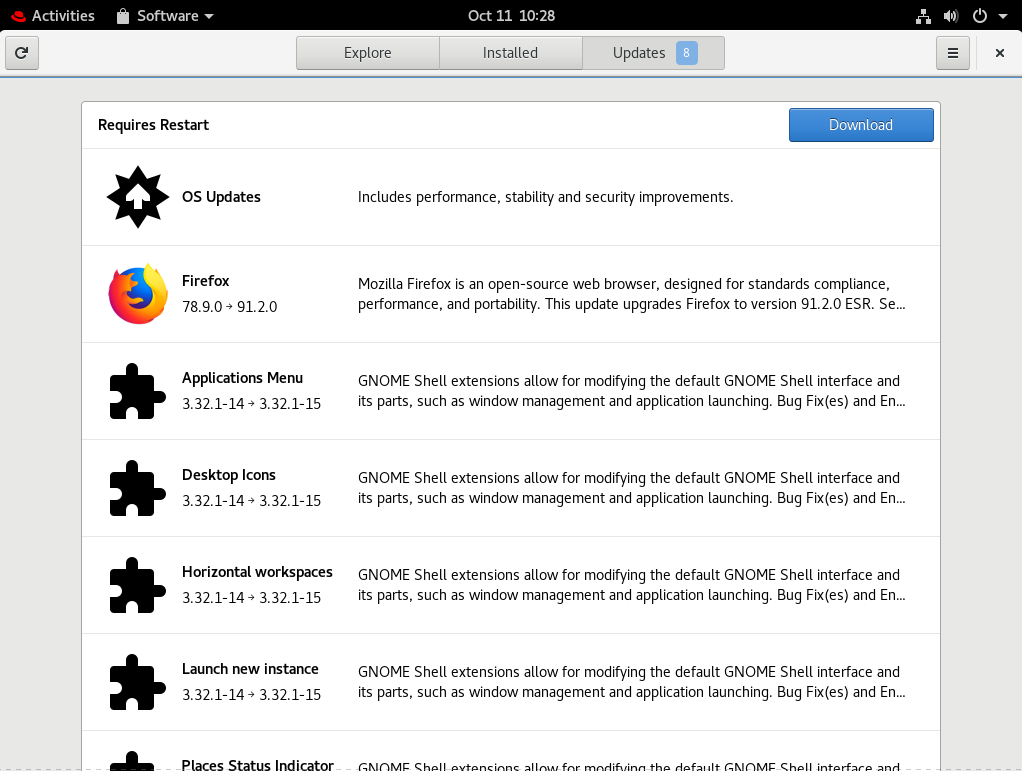
Touch the
Download to download them. When download
is complete, touch the Restart & Update
button to begin the update process.
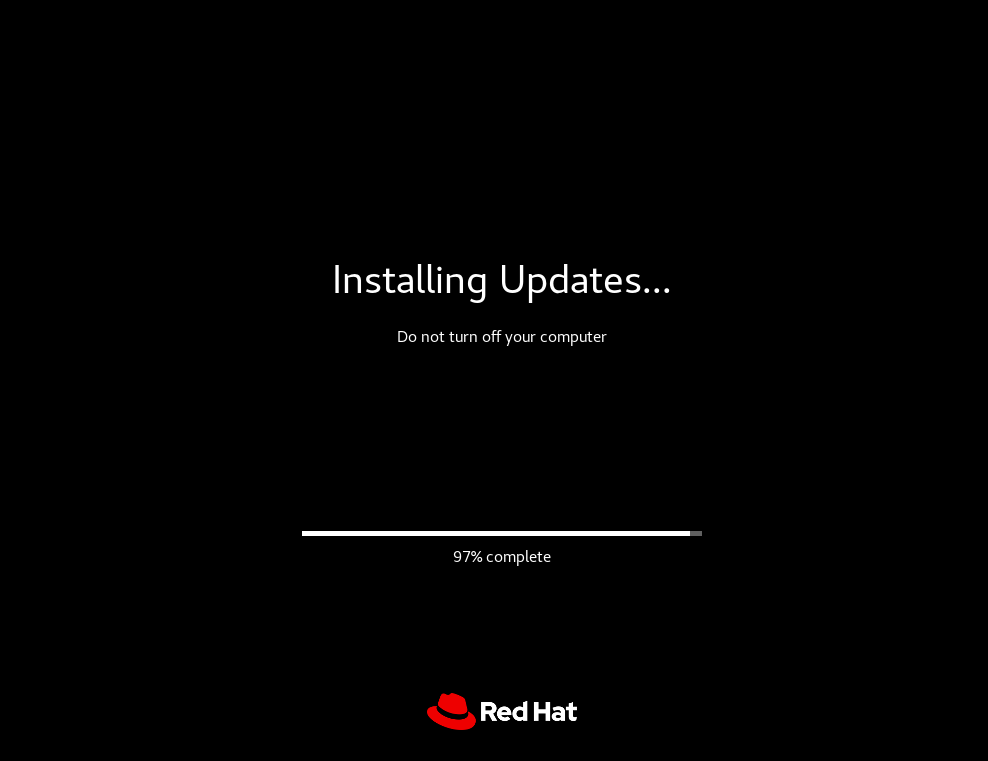
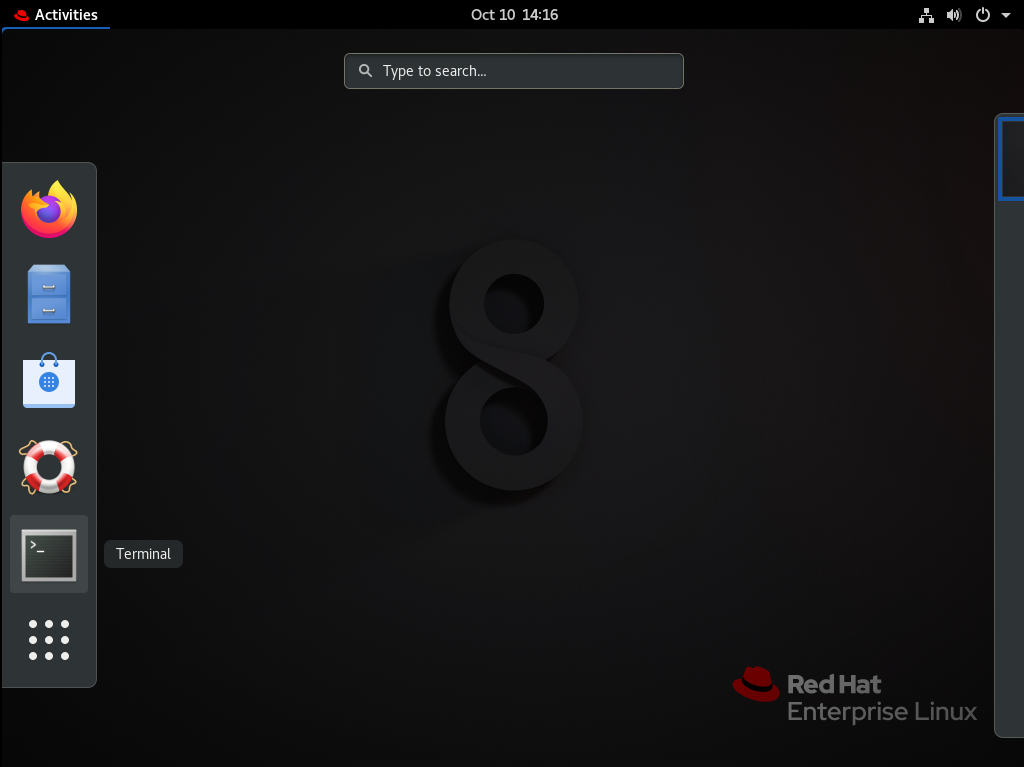
After installing the updates, the system will reboot. Log back in as
user rd, then open a
Terminal by touching the
"Activities" item in the upper left-hand corner of the desktop
and then the Terminal icon.
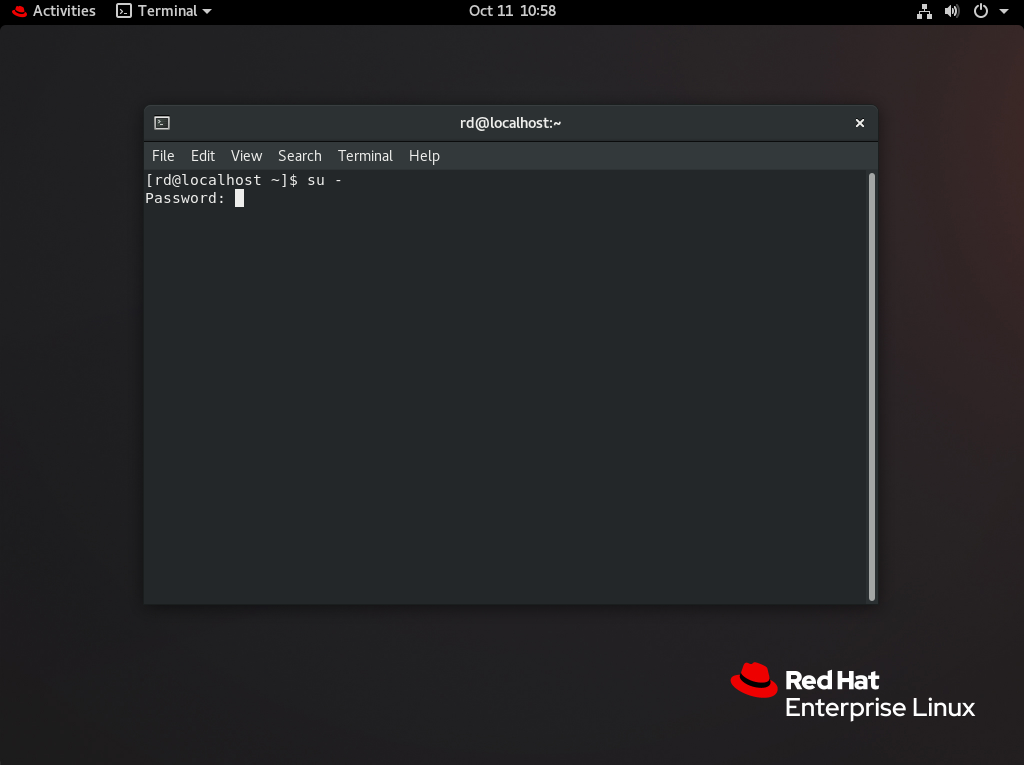
Enter the following into the terminal to
elevate its privileges to root:
su -
You will be prompted for the user "root" password. Type it,
and then press the Enter key.
Note
The password will not appear on the screen as you type it. This is normal.
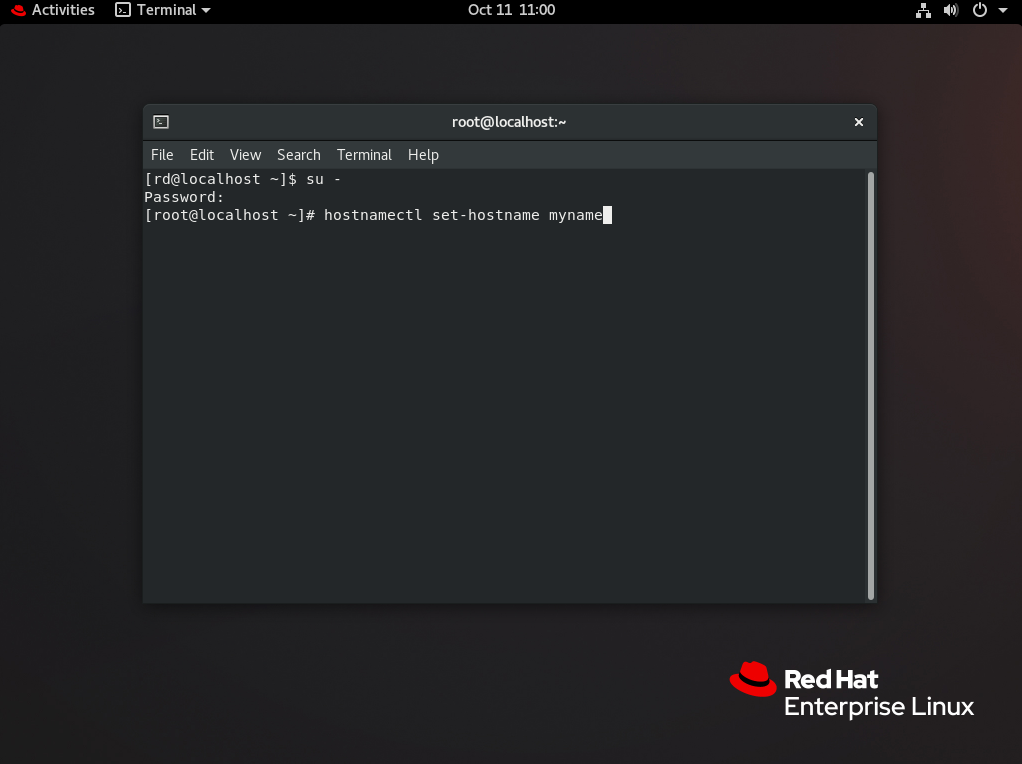
Next, set the host name of the machine by entering the following:
hostnamectl set-hostname ,
where hostnamehostname is the name. The name
should be all lower-case, alphanumeric and not more than 32 characters.
The system is now ready to have Rivendell installed.
Enter the following commands:
wget
    https://software.paravelsystems.com/rhel/8rd4/install_rivendell.sh -P .
chmod 755 install_rivendell.sh
./install_rivendell.sh
The installer will now start up and display its main menu.
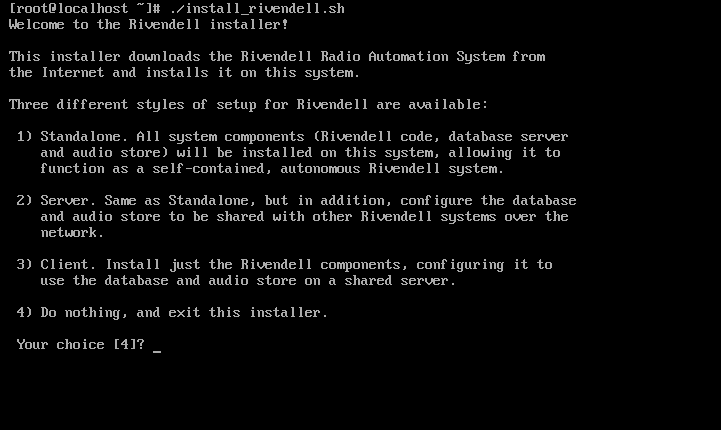
The installer supports three different "installation modes" for Rivendell, as follows:
- Standalone
Install system components (Rivendell application code, MariaDB database server and audio file store) on this machine, allowing it to operate as a completely self-contained and autonomous Rivendell system.
- Server
The same as "Standalone", but will also configure the MariaDB database and audio file store components to be shared with additional "client mode" Rivendell systems.
- Client
Install just the Rivendell application components, configuring it to use the database and audio store on one or two shared server(s). You will be prompted for the IP address of the server(s), as well as the name of the database and the username / password of a MariaDB database account for accessing the Rivendell database on that server.
Note
When prompted to enter the IP address of the NFS server that holds the Rivendell audio store, simply hit theEnterkey if it is on the same server as the MariaDB database (almost always the case).
Enter the number for the type of installation desired, then press the
Enter key.
Depending upon the speed of the Internet connection, installation can take between several minutes to fifteen minutes or more. When installation is complete, reboot the system with the command:
reboot
After rebooting, the system will come back in GUI mode. To secure the
system fully, open a Terminal as
directed above and perform the following steps:
If you used the "Standalone" or "Server" installation modes above, set the MariaDB administrator password with the following command (substitute your password for
pwd):echo "SET PASSWORD FOR root@localhost = PASSWORD('pwd');" | mysql -u rootRemove the Rivendell installer script with the following command:
dnf -y remove rhel-rivendell-installer
The system is now ready for service.