Table of Contents
This HOWTO contains procedures for creating a dedicated Rivendell "appliance" system using the Ubuntu Desktop 24.04 LTS Noble Numbat distribution. While the screenshots are specific to Ubuntu Desktop, these instructions are also applicable to other distributions derived from it. Such distributions include:
Ubuntu Studio 24.04 LTS Noble Numbat
Installing Rivendell on Ubuntu Desktop consists of these primary steps:
Install the base distribution.
Bootstrap and run the installation script.
The following items are required to complete the installation.
Target hardware. 64 bit (amd64) AMD or Intel architecture is supported. For the purposes of this HOWTO, the target machine will be assumed to have a single, blank hard drive. Installations utilizing multiple hard drives (including RAID arrays and ZFS filesystems) are possible, but beyond the scope of this HOWTO.
Note
Secure Boot should be disabled on the target hardware prior to beginning installation. Failure to do so may result in third-party drivers for certain hardware --e.g. AudioScience audio adapters-- failing to initialize properly.A installer image for Ubuntu Desktop 24.04 LTS Noble Numbat, available at https://ubuntu.com/download/desktop. After downloading the ISO image, burn it to a blank DVD or make a "bootable" USB key using the instructions on the download web site.
A working Internet connection.
If you are planning to install in client mode, the IP address of the Rivendell server to which this instance will connect.
Boot the Ubuntu Desktop 24.04 LTS Noble Numbat installation media (DVD or USB key). You should wind up at the initial boot screen.
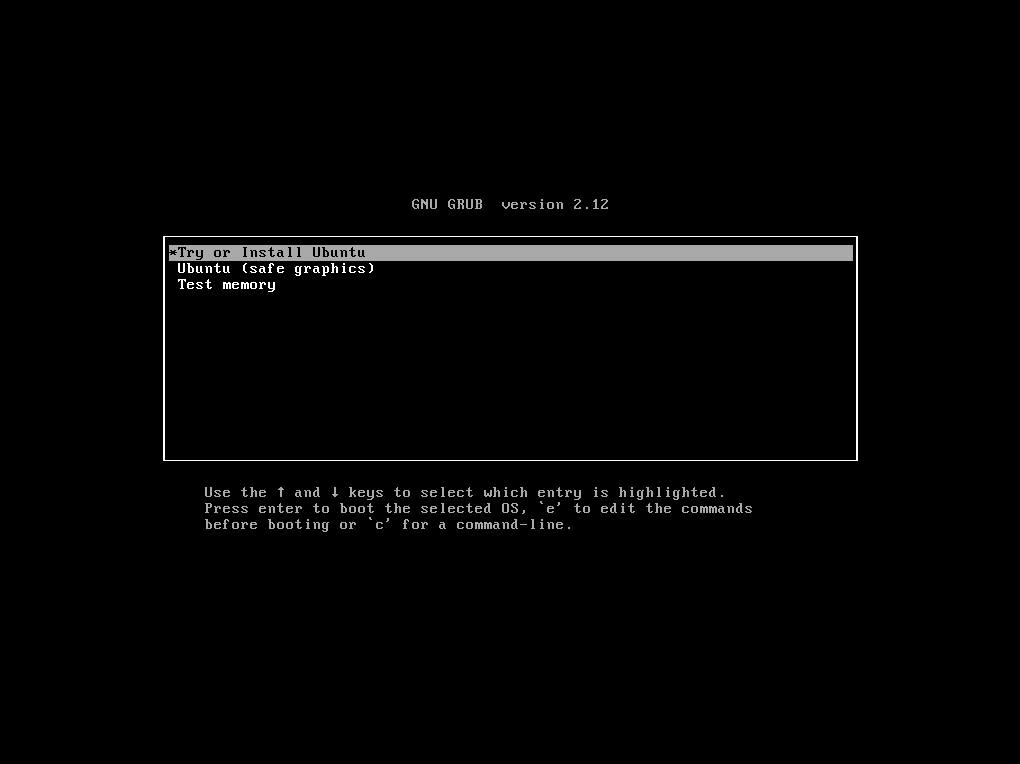
Note
Depending on your specific hardware and BIOS settings, the appearance of the initial boot screen may vary from the example shown.
Highlight the Try or Install Ubuntu
prompt and then press Enter to proceed to the
Welcome to Ubuntu screen.
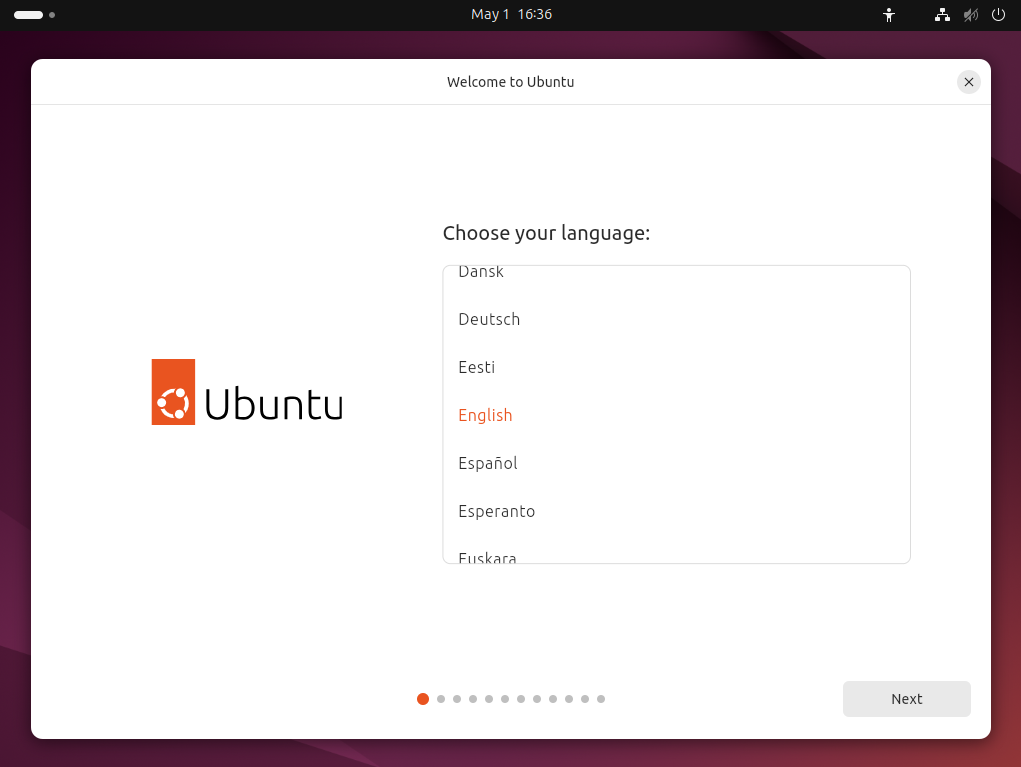
You will be asked to specify the language to use for the install.
Choose and then touch the Next
button to proceed to the
Accessibility screen.
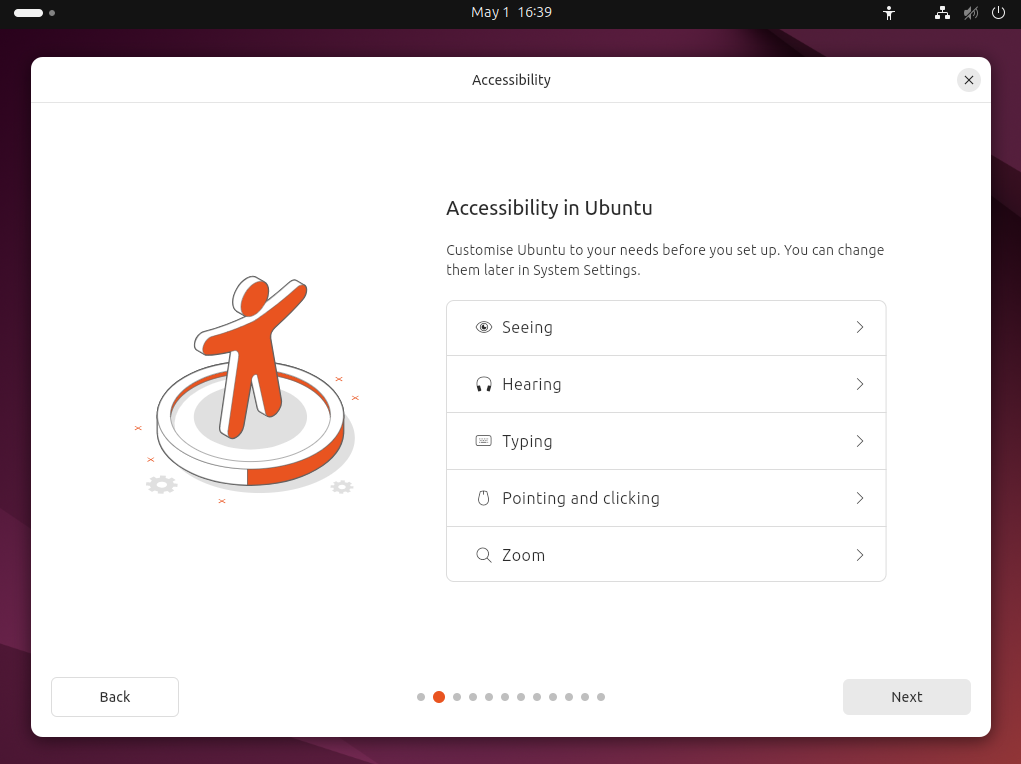
Configure any desired accessibility aids, then touch the
Next button to proceed to the
Keyboard layout screen.
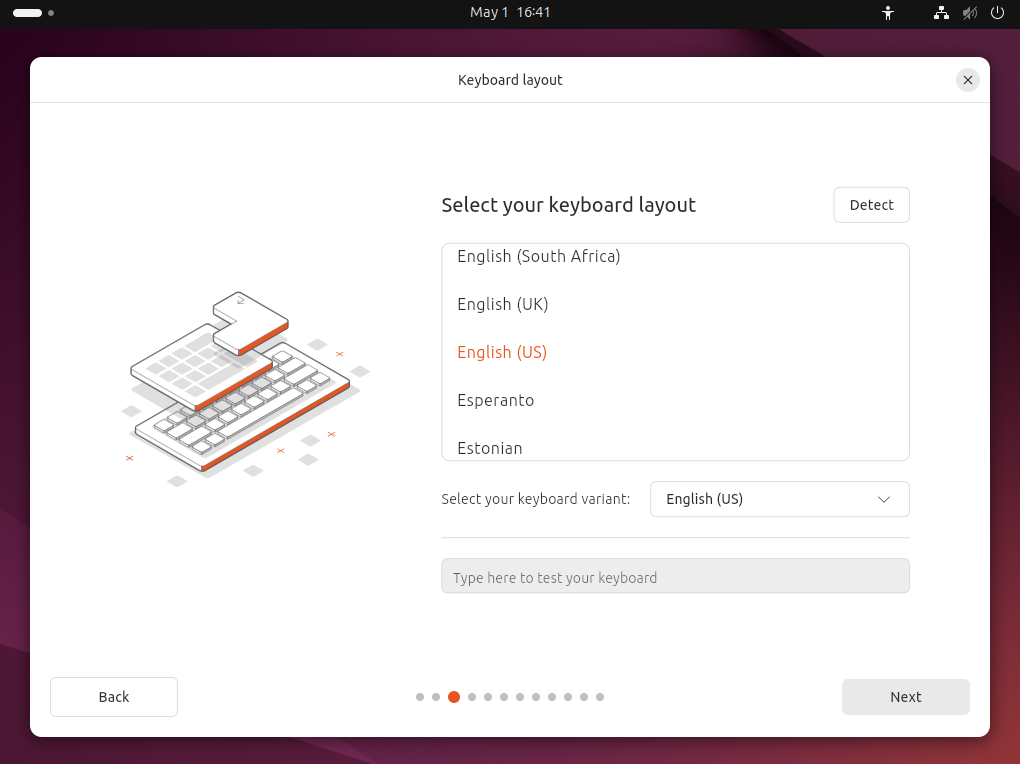
Choose your desired keyboard layout and then touch the
Next button to proceed to the
Internet connection screen.
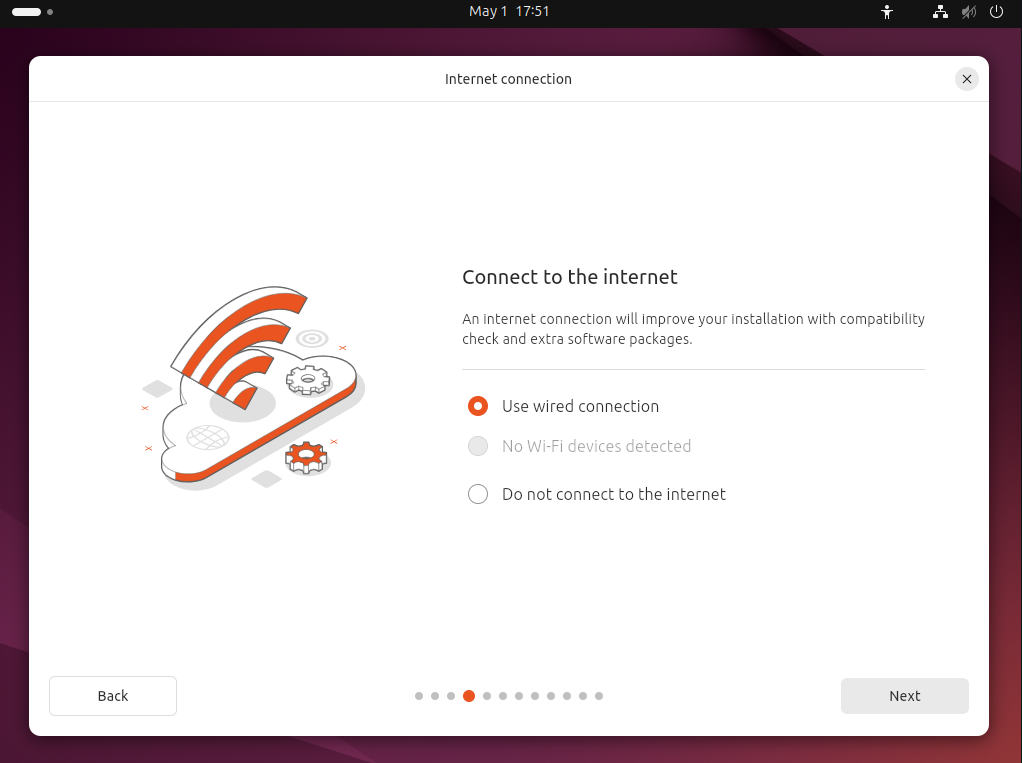
Select the Use wired connection radio
button and then touch the Next button
to proceed to the Try or install Ubuntu
screen.
Note
Use of a wired network connection is highly recommended for Rivendell.
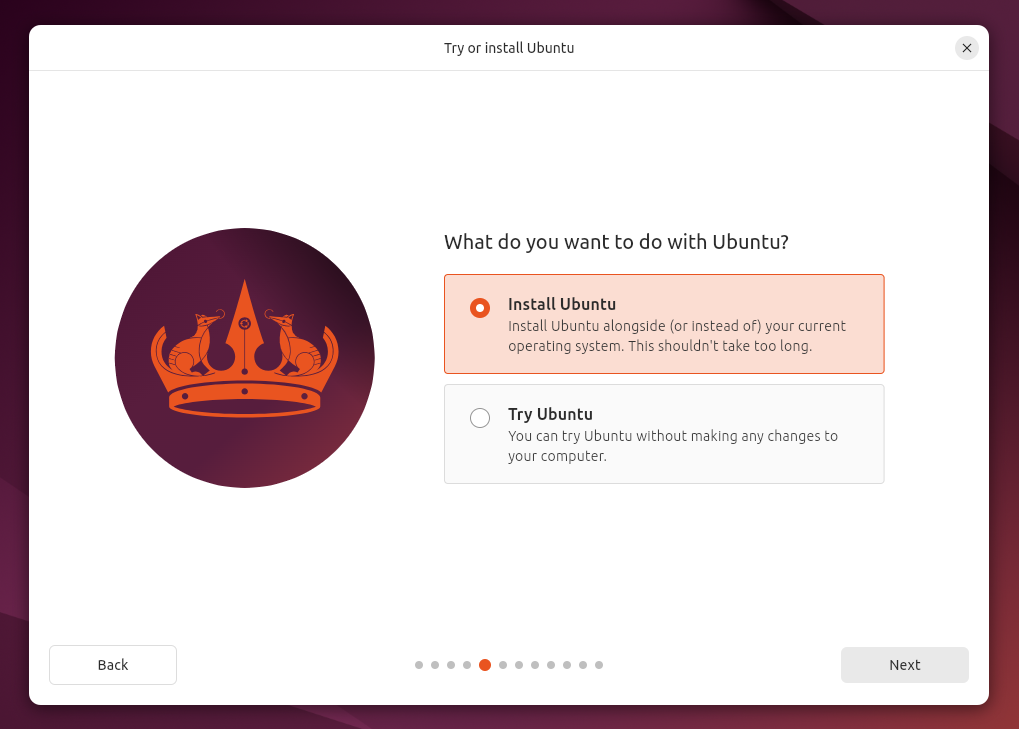
Select Install Ubuntu and then
touch the Next button to proceed
to the Type of installation screen.

Select Interactive installation and then
touch the Next button to proceed
to the Applications screen.
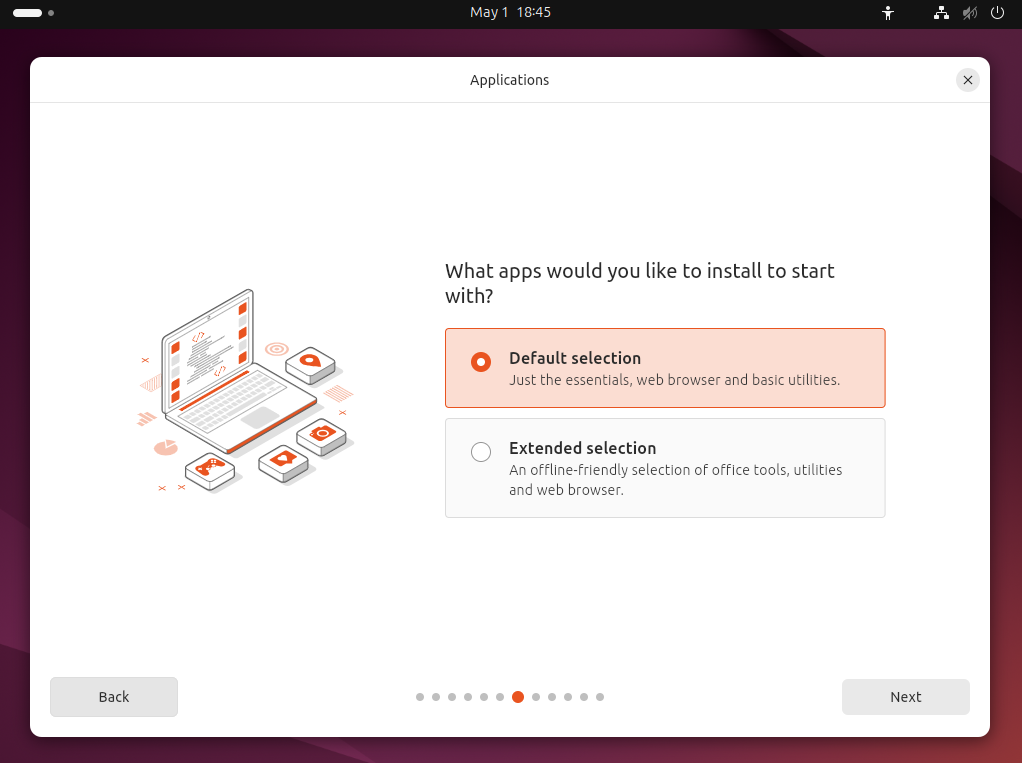
Select Default selection and then
touch the Next button to proceed
to the Optimize your computer screen.
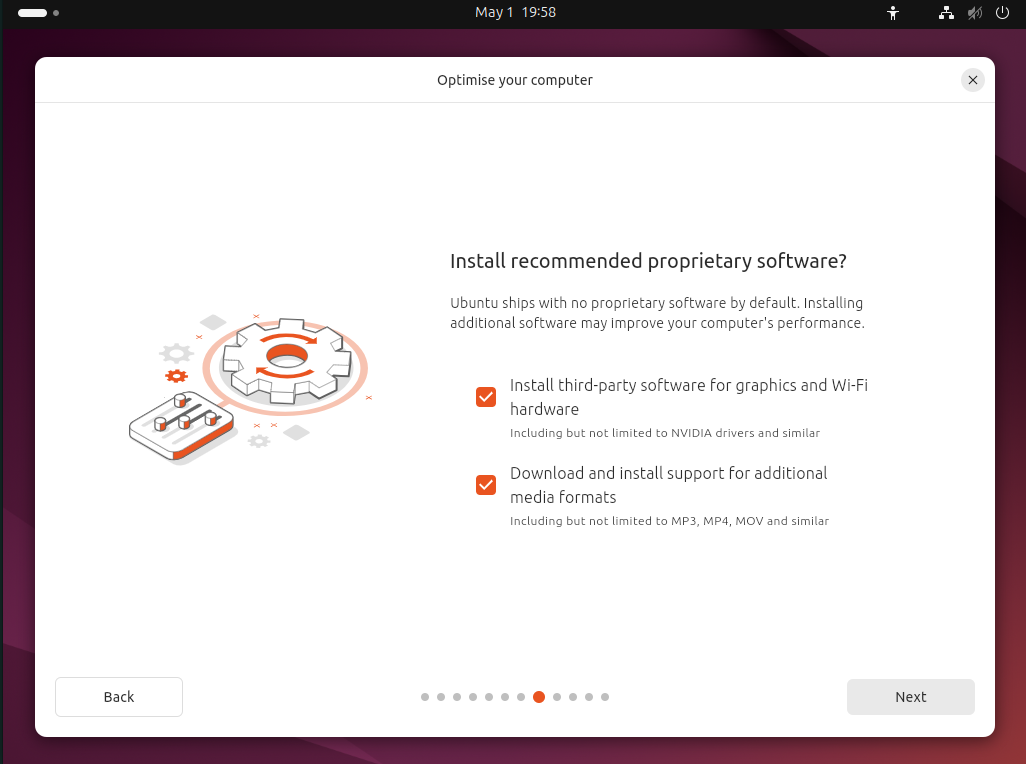
Select the
Install third-party software for graphics and Wi-Fi
    hardware
and Download and install
support for additional media formats
options and then touch the Next
button to proceed to the Disk setup
screen.
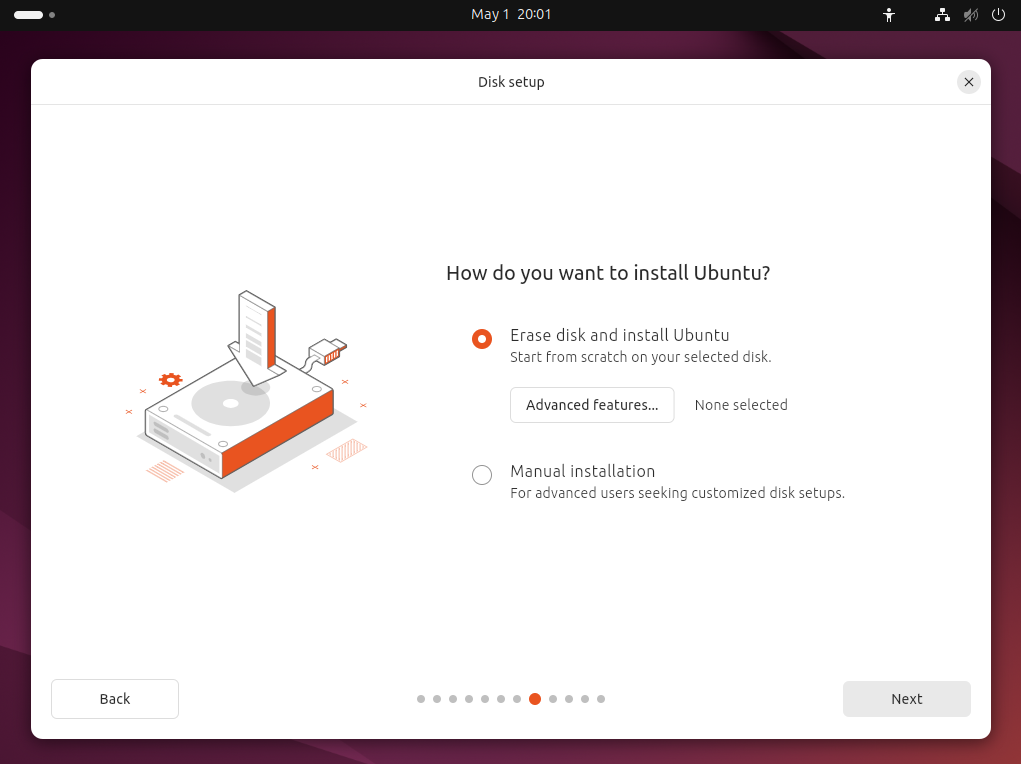
Select the
Erase disk and install Ubuntu
option and then touch the Next
button to proceed to the
Create your account screen.
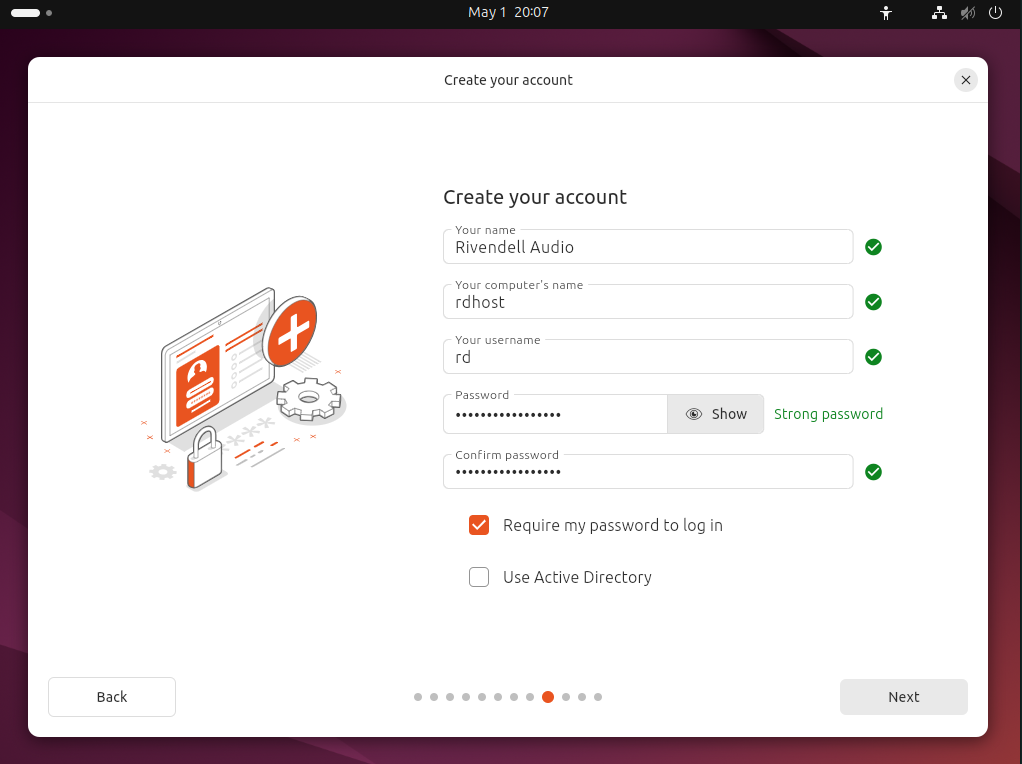
The following fields should be filled out as follows:
-
Your name: Rivendell Audio-
Your username: rd
The remaining fields should be filled out as appropriate for your site.
When all the fields are as you wish, touch the
Next button to proceed to the
Select your timezone screen.
Warning
Do not forget what you enter here, especially the Username and Password values! You will need this information to configure and use your Rivendell system.
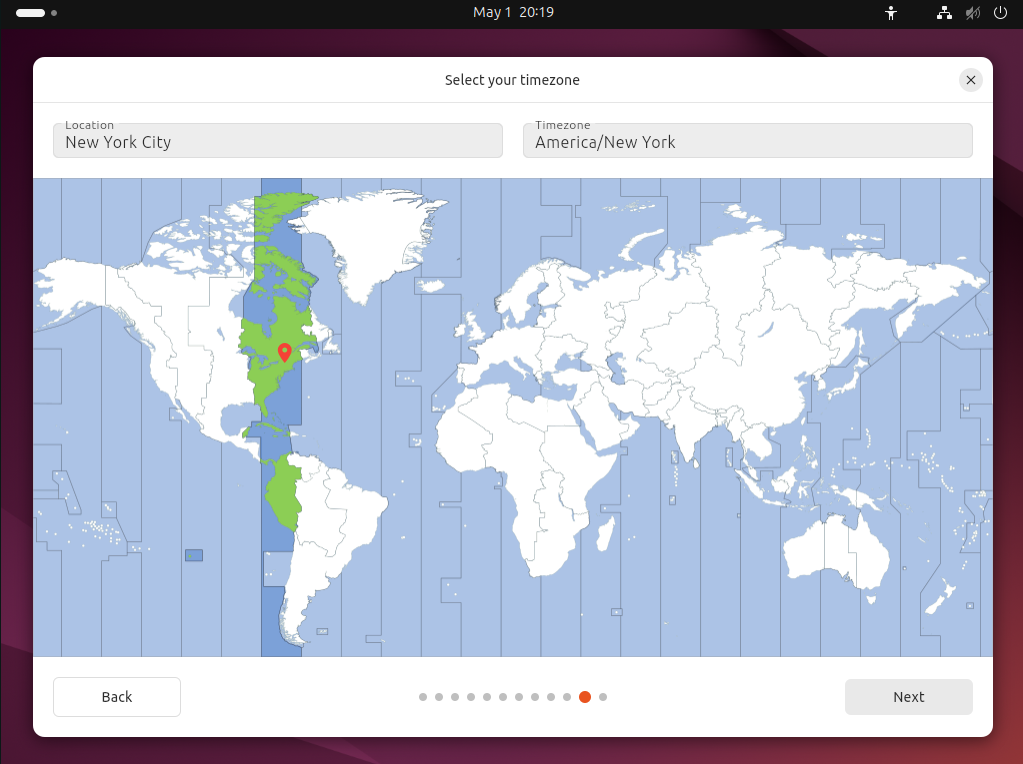
Choose the desired region for the time zone and then touch the
Next button to proceed to the
Ready to install screen.
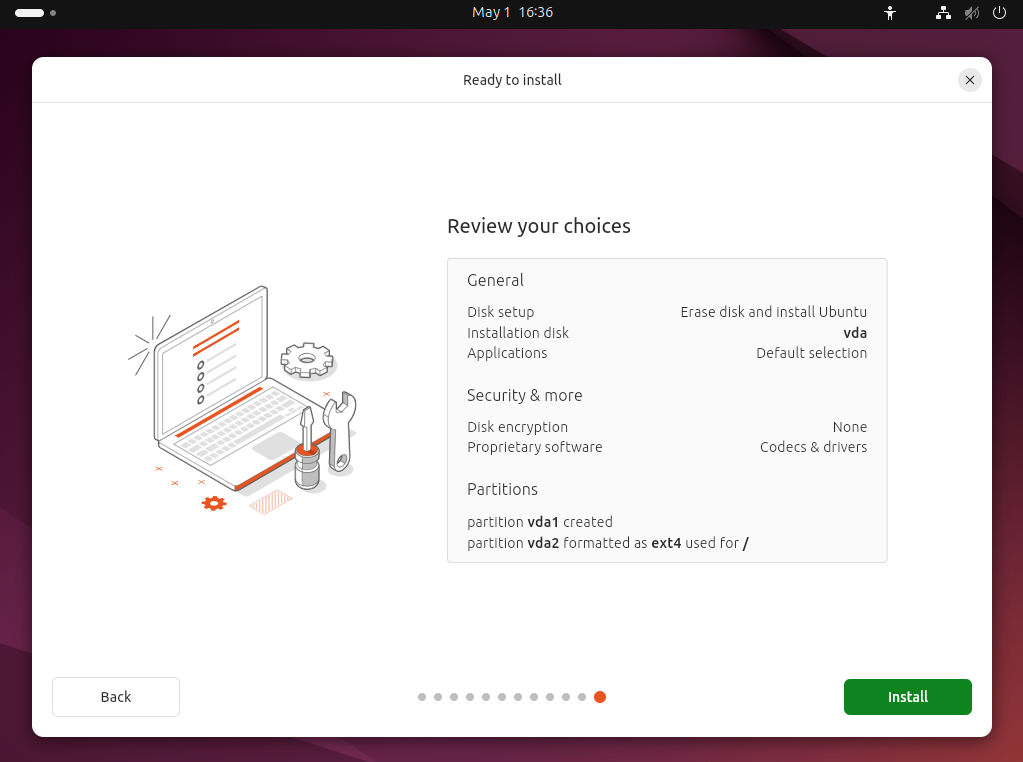
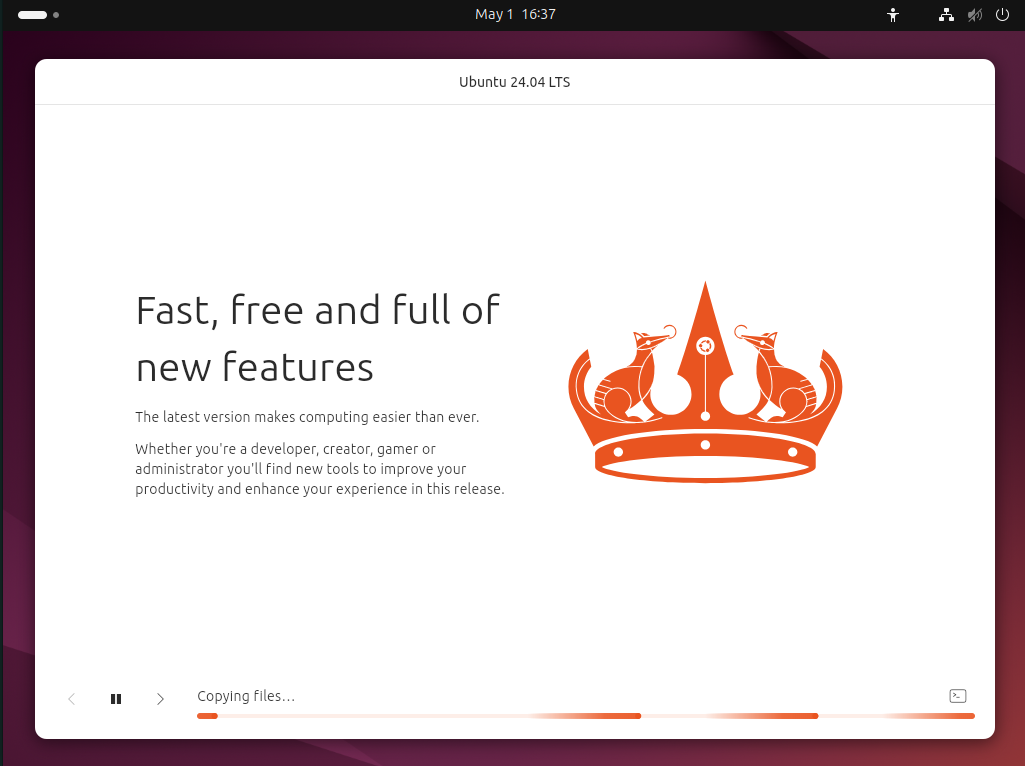
Touch the Next button to begin the
installation. Depending on the speed of your Internet connction, this
will take anywhere from a few minutes to an hour or more.
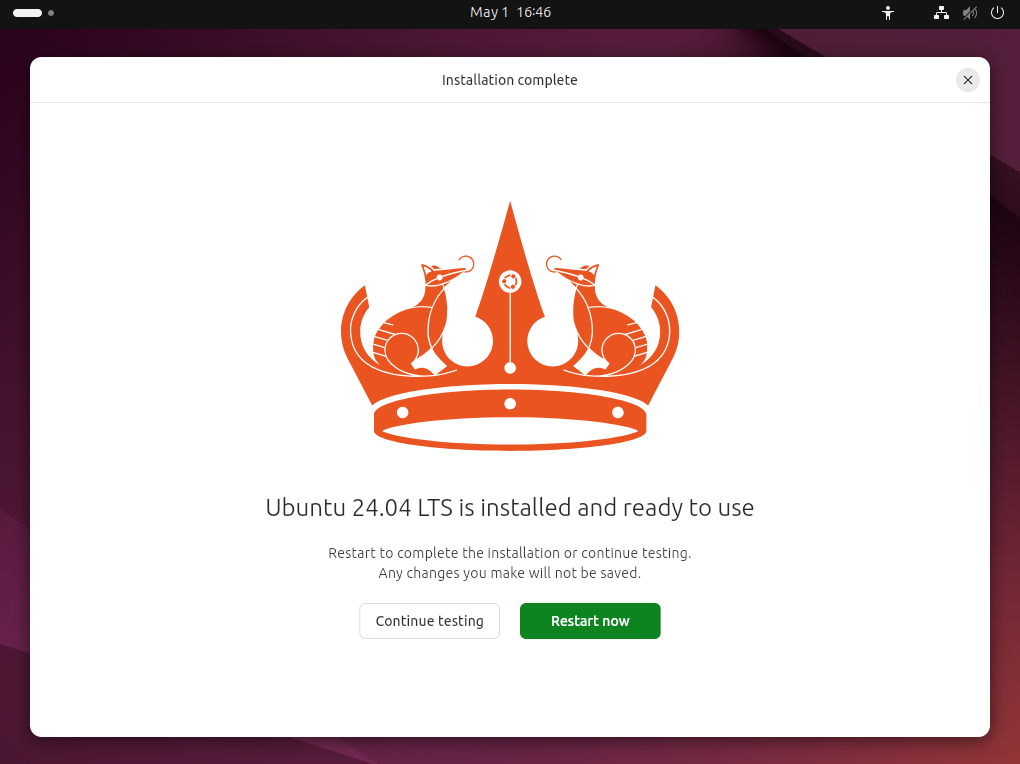
When the installation is complete, touch the
Restart now button to reboot the system.
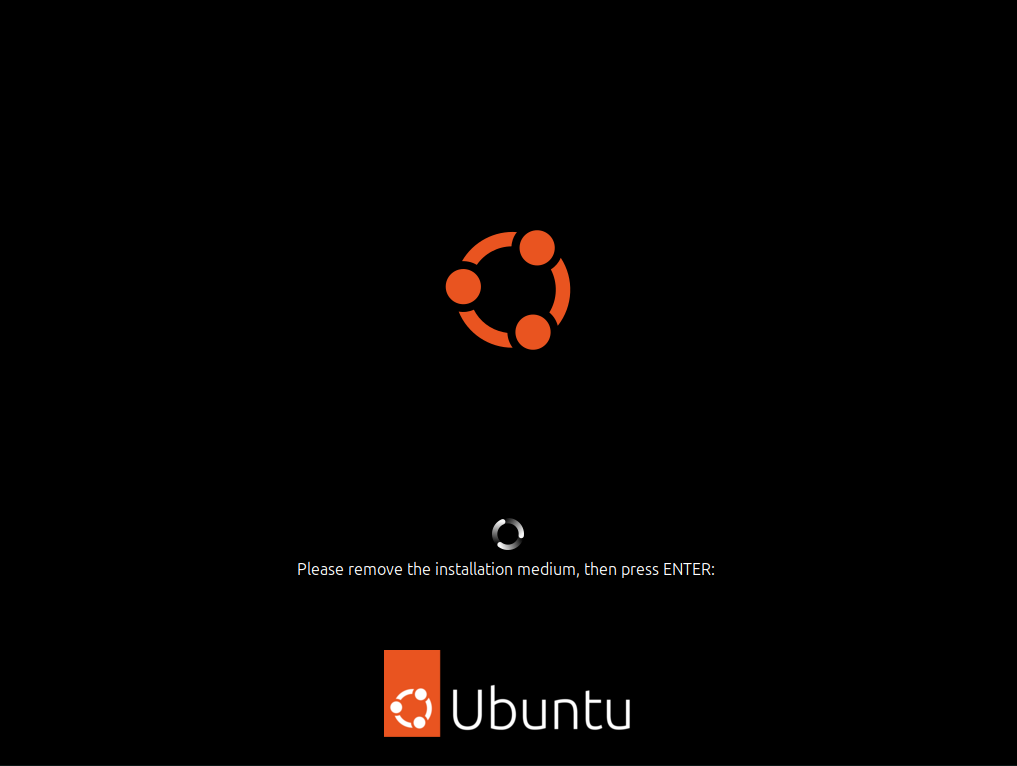
The system may prompt you to remove the "installation medium"
at this point. Remove the USB key and press ENTER.
The system will reboot and come up to the login screen. Login in as user "rd", using the password that you set earlier.
Note
If you ticked theLog in automatically
checkbox when creating the user earlier, the login prompt will be
skipped.
After logging in, you will see the
Welcome dialog.
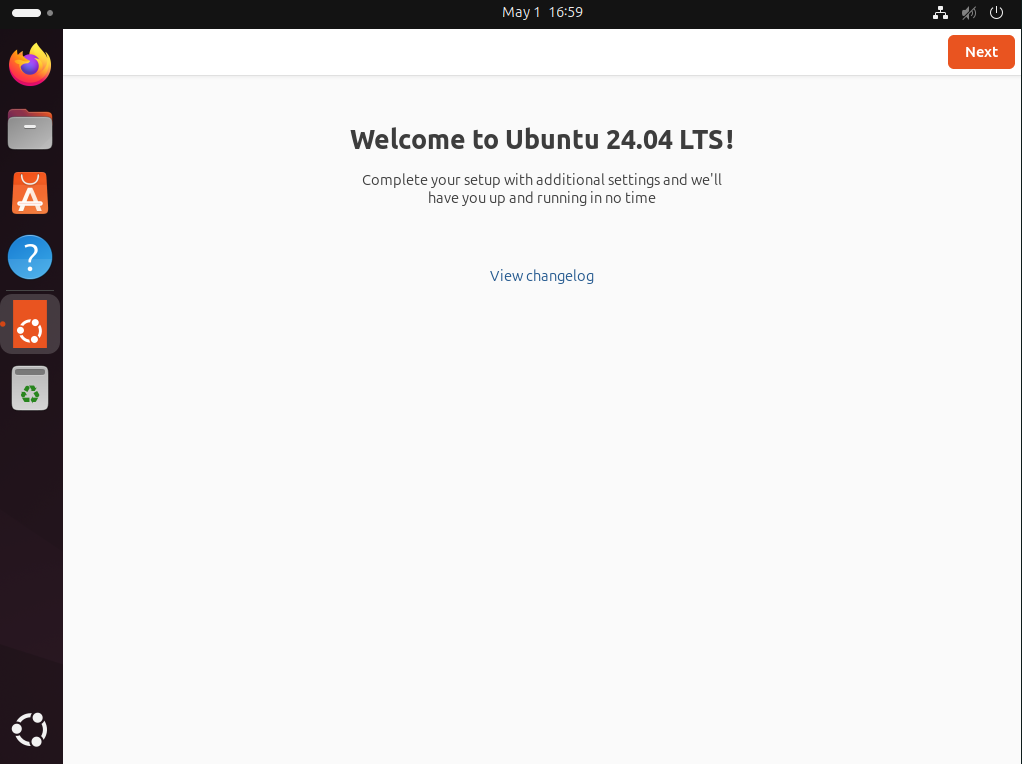
Touch the Next button to proceed to
Ubuntu Pro screen.
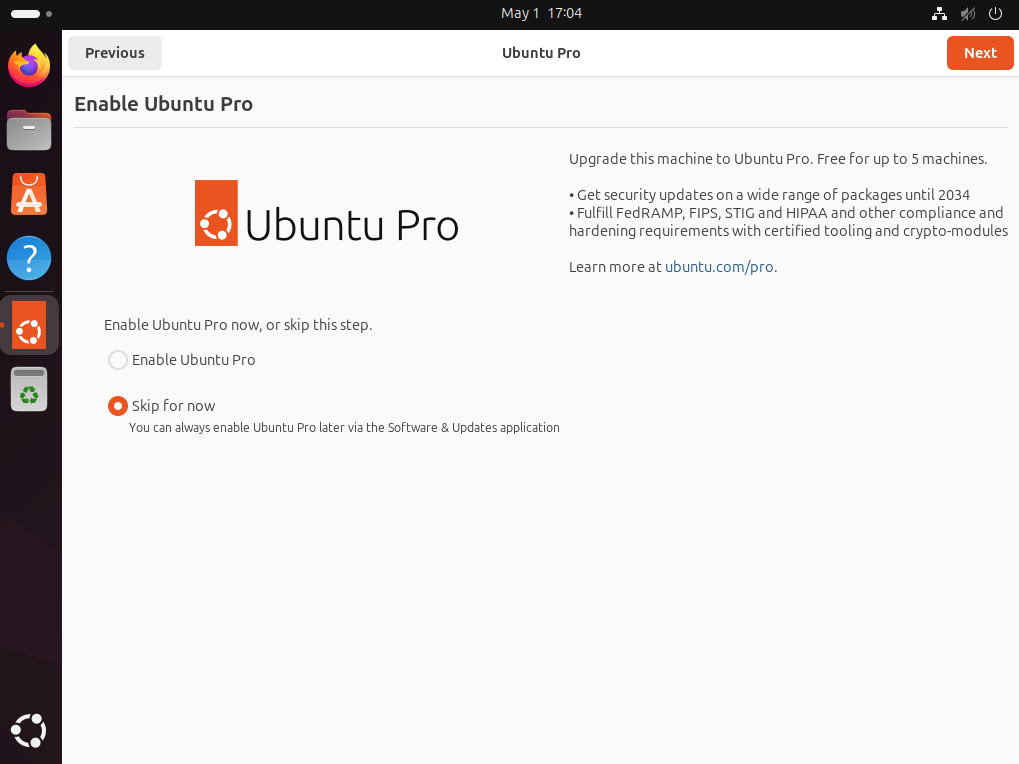
Make selections as desired and then touch the
Next to proceed to the
Help improve Ubuntu screen.
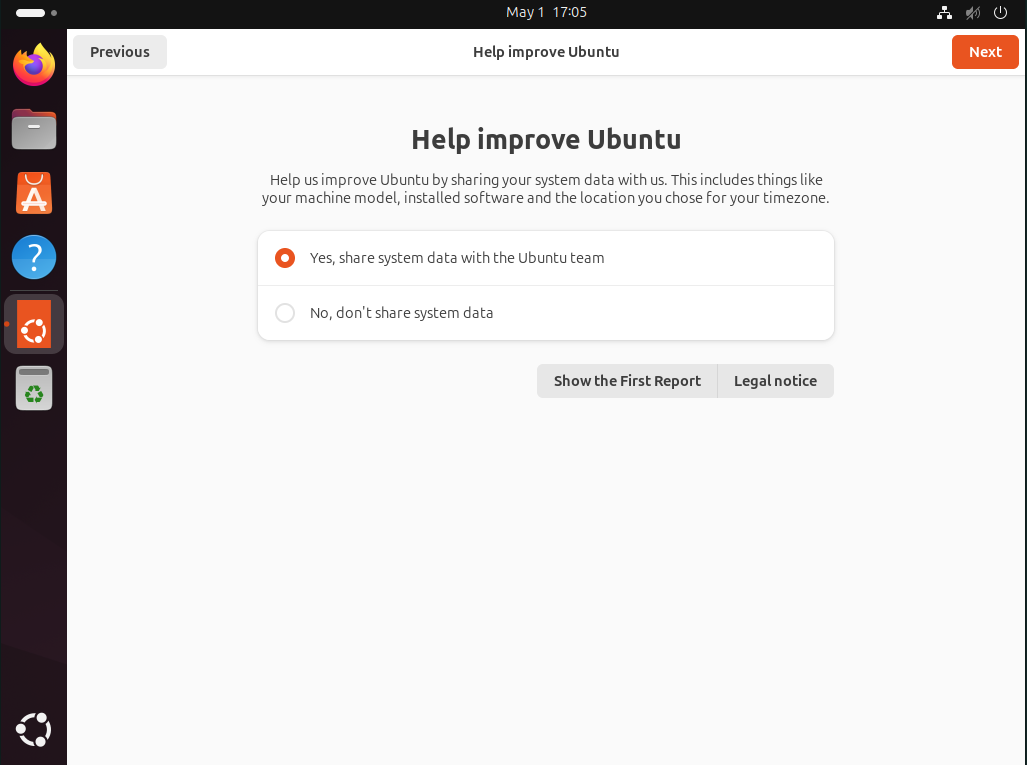
Make selections as desired and then touch the
Next to proceed to the
Ready to go screen.
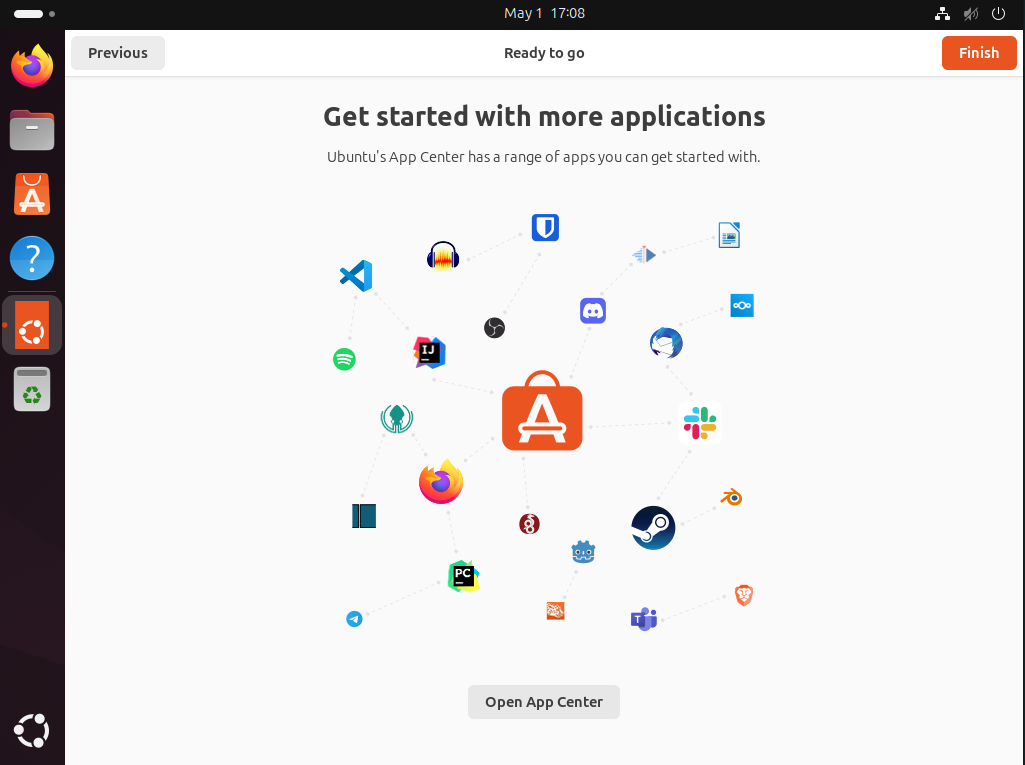
Touch the Finish button to exit the
Welcome to Ubuntu utility.
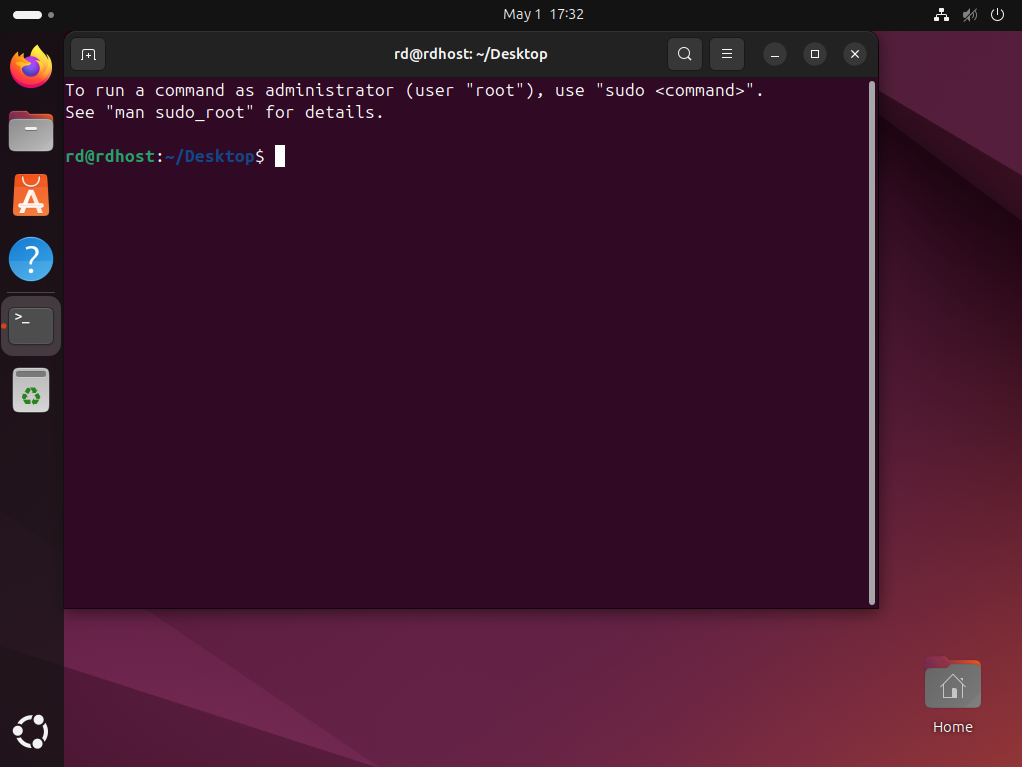
Do a right-click with the mouse on the desktop to pop-up a menu
and choose the Open in Terminal item.
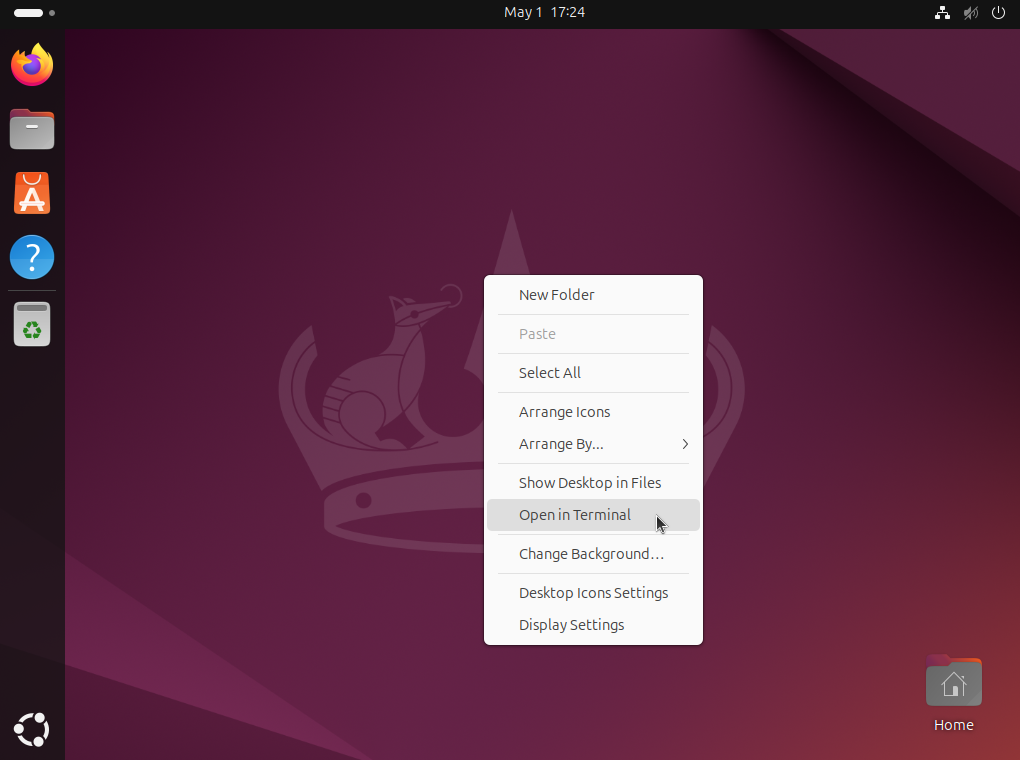
A Terminal window will appear.
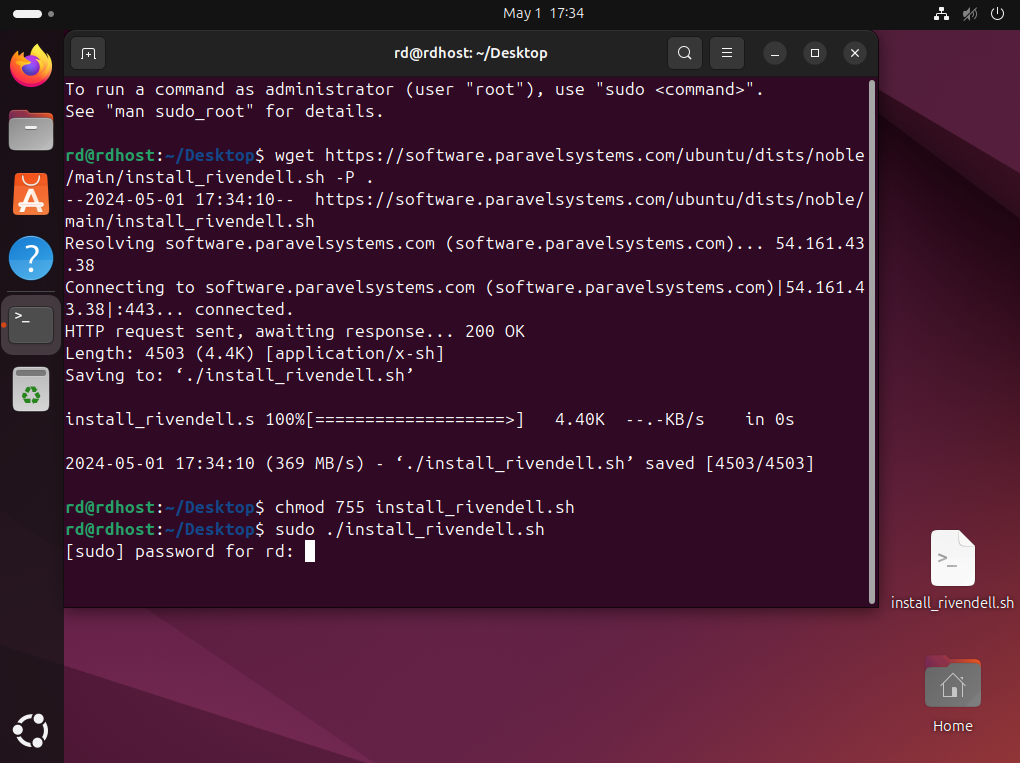
Enter the following statements in the Terminal window exactly as shown,
pressing the Enter key after each one:
wget https://software.paravelsystems.com/ubuntu/dists/noble/main/install_rivendell.sh -P .
chmod 755 install_rivendell.sh
sudo ./install_rivendell.sh
You will be prompted for the password for user
rd. Enter the password that you set
during the installation process.
Note
The password will not be visible on the screen as you enter it. This is normal.
The installer will now start up and display its main menu.
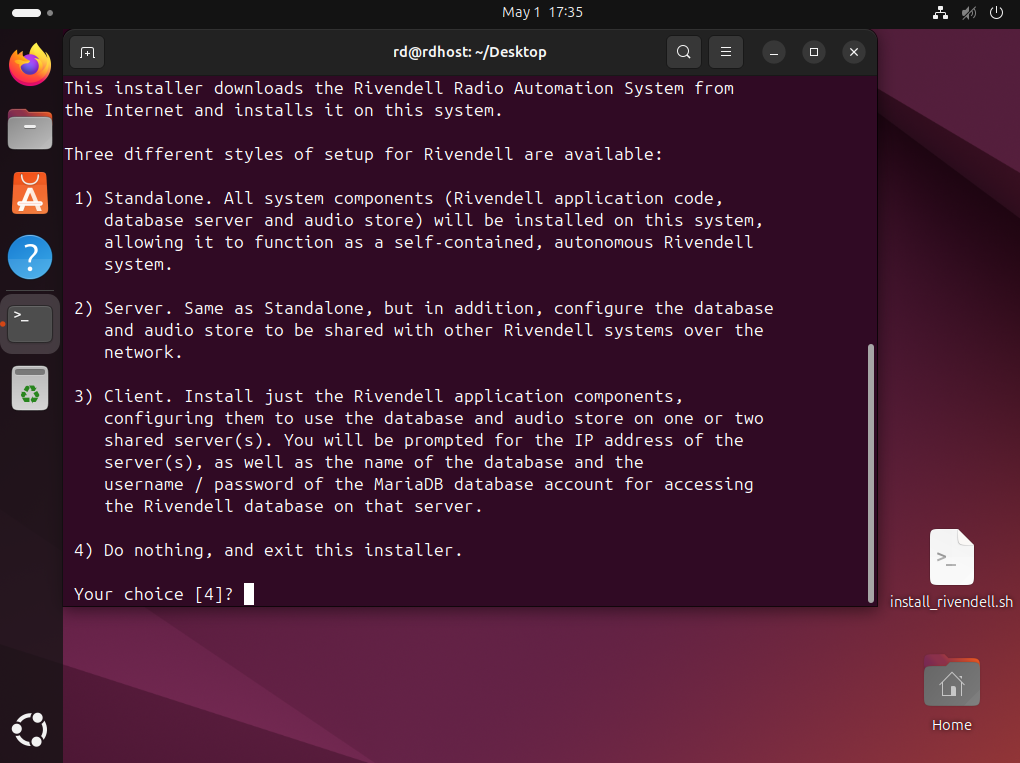
The installer supports three different "installation modes" for Rivendell, as follows:
- Standalone
Install system components (Rivendell application code, MySQL database server and audio file store) on this machine, allowing it to operate as a completely self-contained and autonomous Rivendell system.
- Server
The same as "Standalone", but will also configure the MySQL database and audio file store components to be shared with additional "client mode" Rivendell systems.
- Client
Install just the Rivendell application components, configuring it to use the database and audio store on one or two shared server(s). You will be prompted for the IP address of the server(s), as well as the name of the database and the username / password of a MariaDB database account for accessing the Rivendell database on that server.
Note
When prompted to enter the IP address of the NFS server that holds the Rivendell audio store, simply hit theEnterkey if it is on the same server as the MariaDB database (almost always the case).
Enter the number for the type of installation desired, then press the
Enter key.
Depending upon the speed of the Internet connection, installation will typically take around fifteen minutes. When installation is complete, reboot the system with the command:
sudo reboot
After rebooting, the system is ready for service.